Hey filmmakers and creators! Today I want to share with you a simple step-by-step guide that will speed up the way you color grade your Canon videos. By using LUTs (Look-Up Tables), you can achieve stunning and professional-looking results in a matter of seconds. So, let's dive in and explore how to make the most out of LUTs to enhance your footage!
What are LUTs and why should you use them?
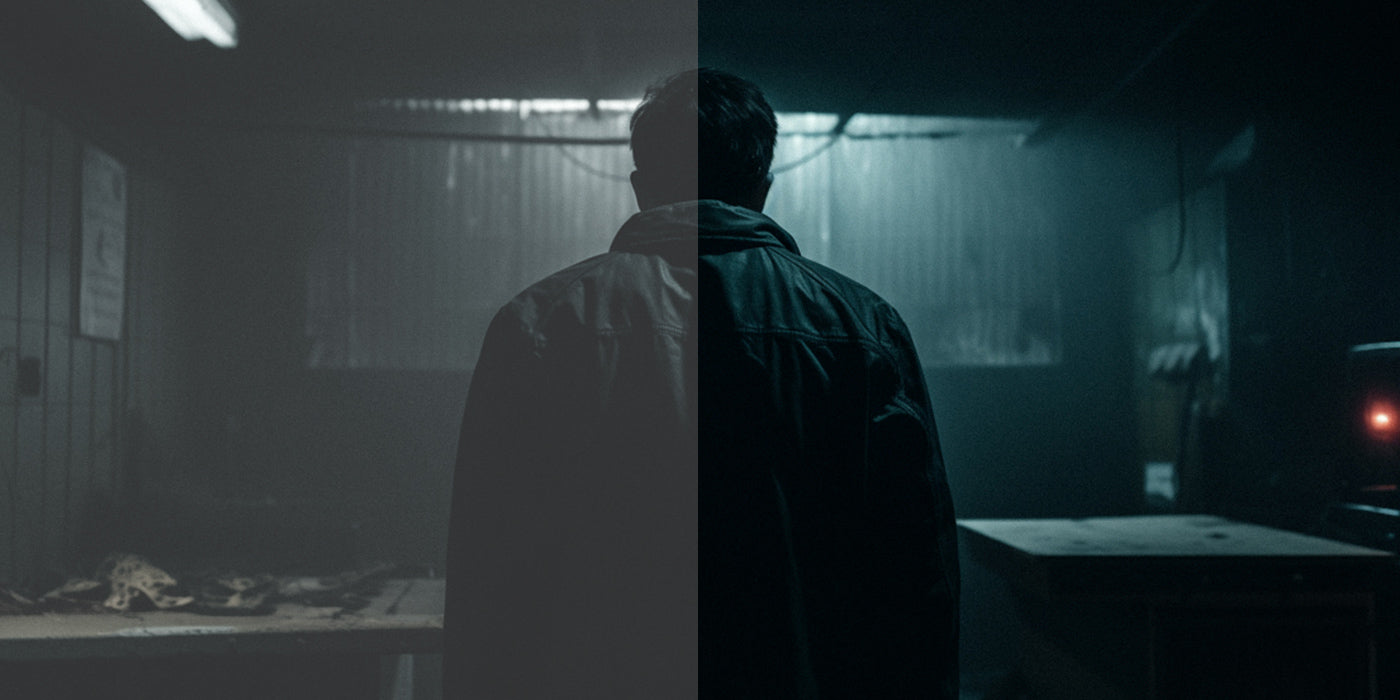
LUTs are essentially mathematical formulas that map one set of colors to another. They are widely used in the film industry to apply specific color grading looks to footage. By using LUTs, you can instantly transform the overall mood and style of your videos, giving them a cinematic touch.

Step 1: Shoot in LOG format
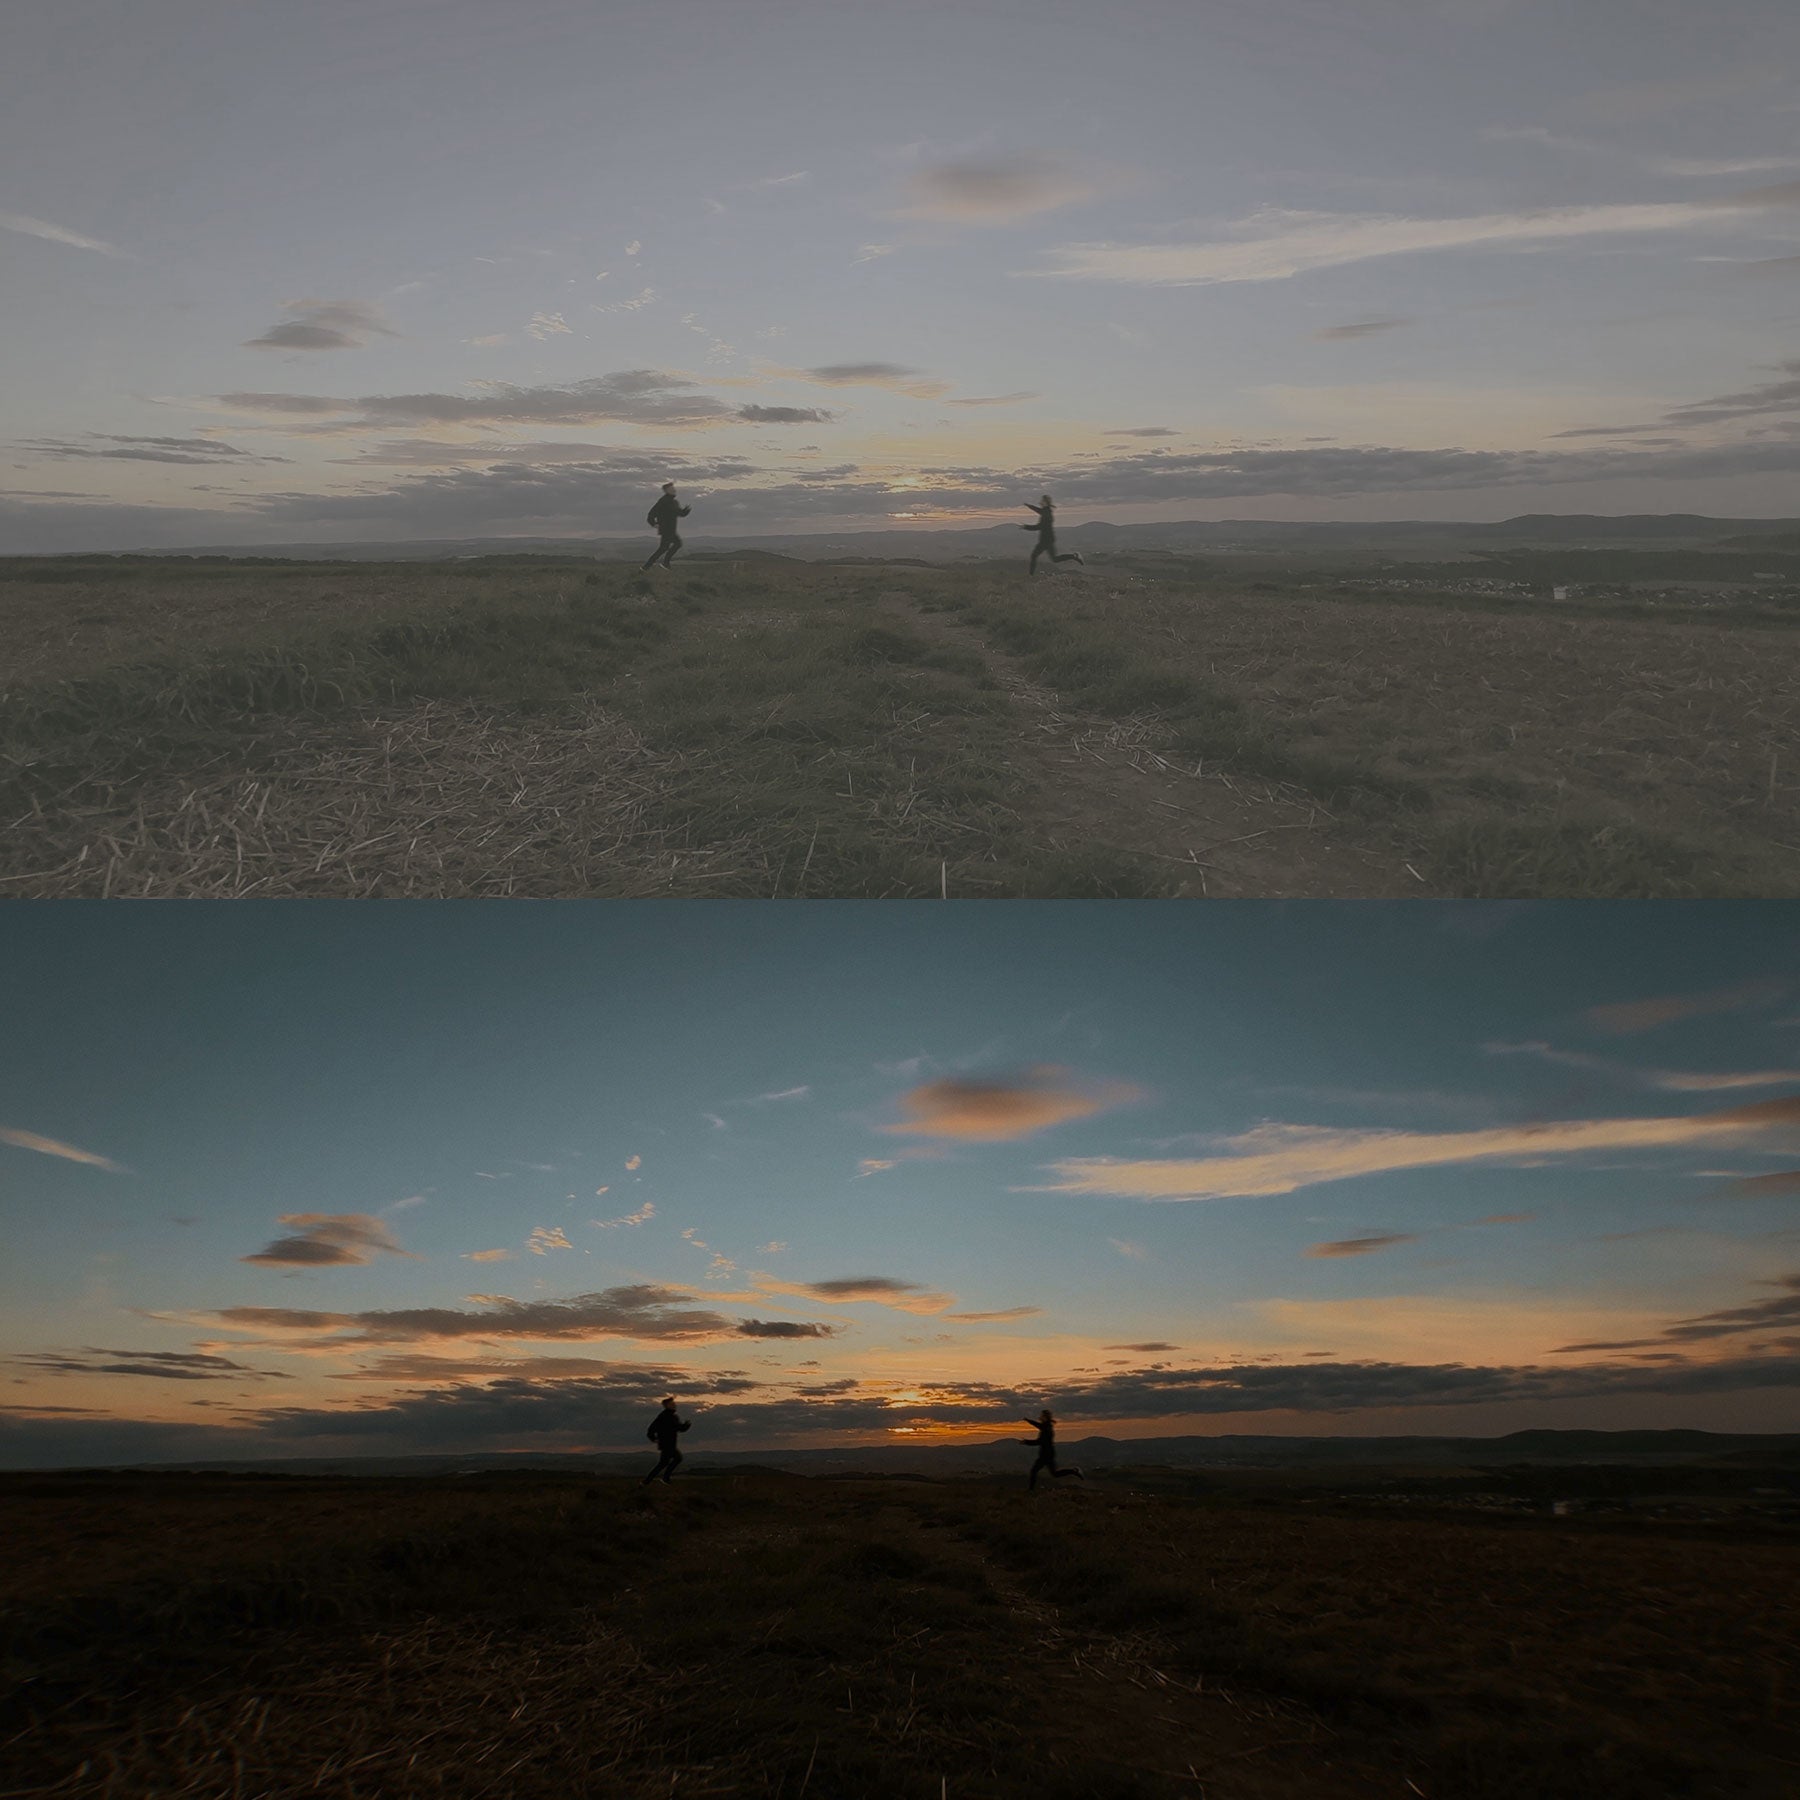
In order to fully leverage the power of LUTs, it's crucial to shoot your videos in LOG format. LOG, short for logarithmic, captures a wider dynamic range, preserving more details in the shadows and highlights. This provides you with greater flexibility during the color grading process. On most mirrorless cameras like the Canon EOS R, Canon R5, Canon R6, Canon R7 or Canon R5C you can simply enable the LOG format by going into the menu of your camera and change the color profile to LOG.
These are the settings I recommend:

Step 2: Choose the right LUT
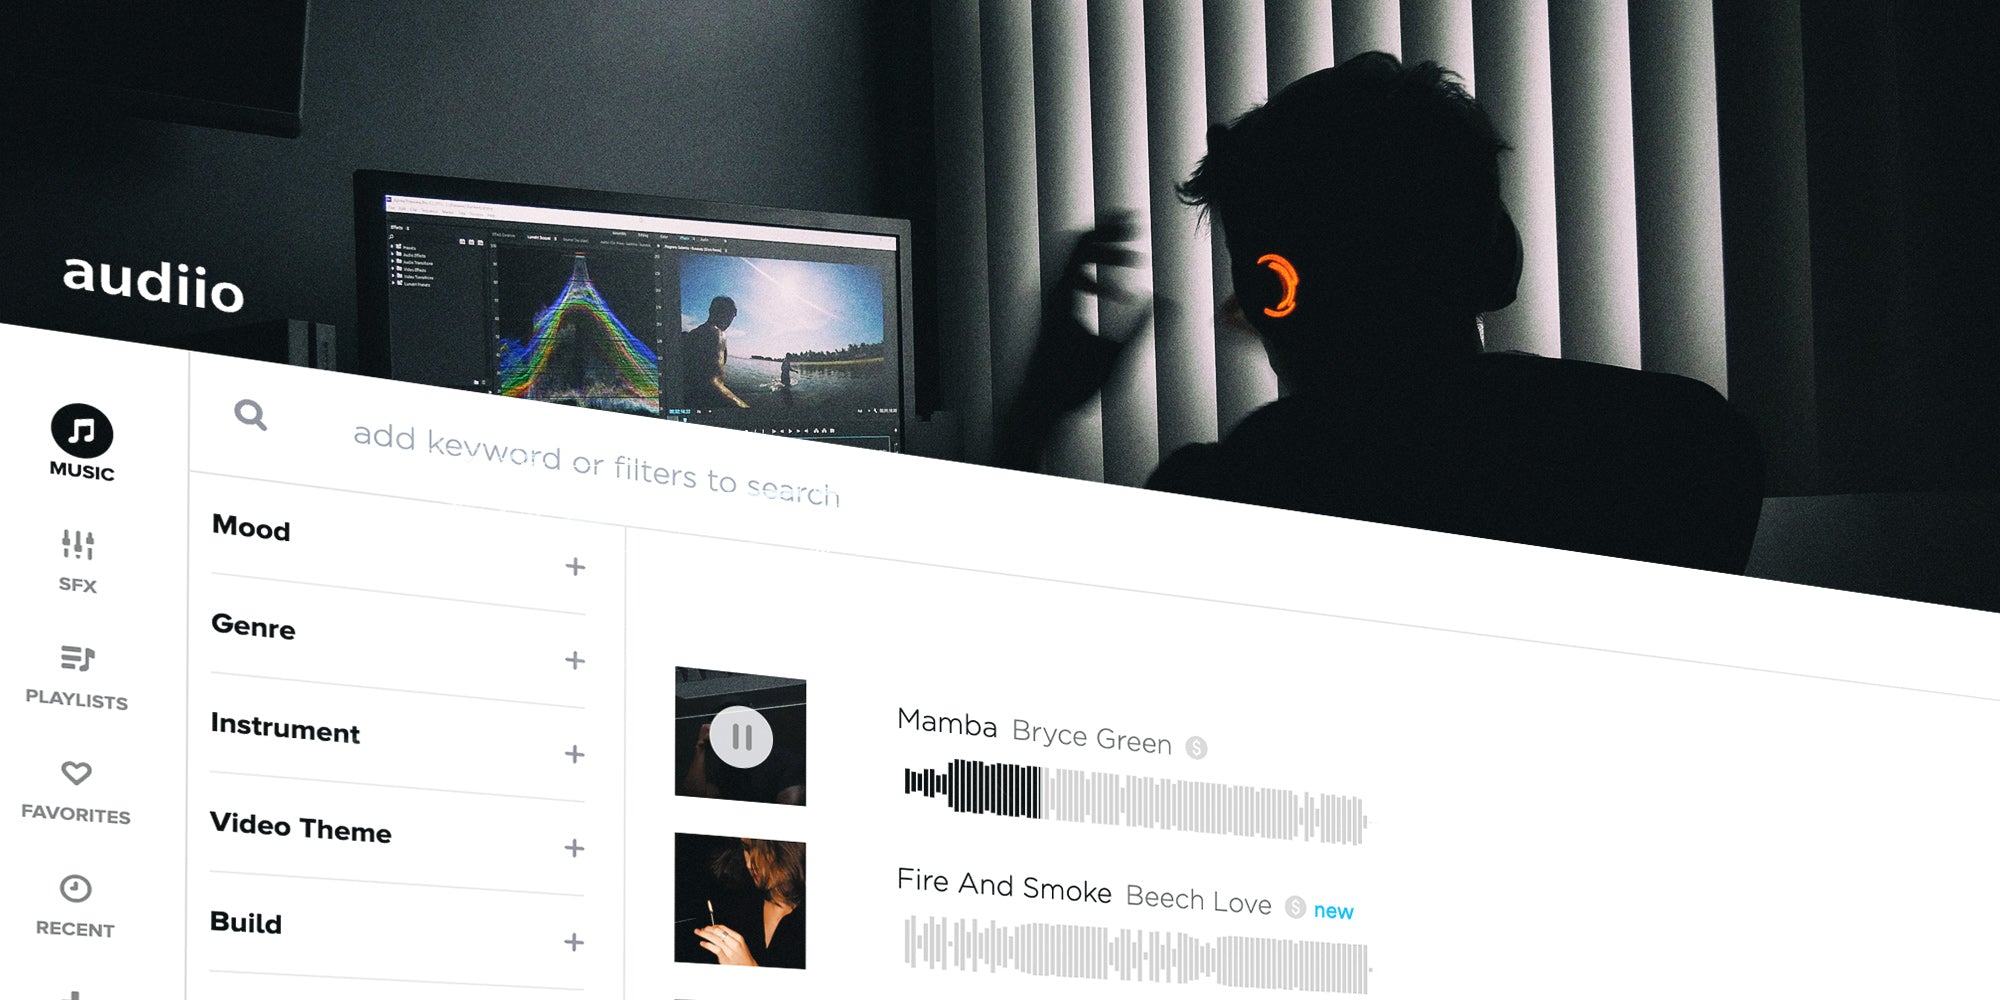
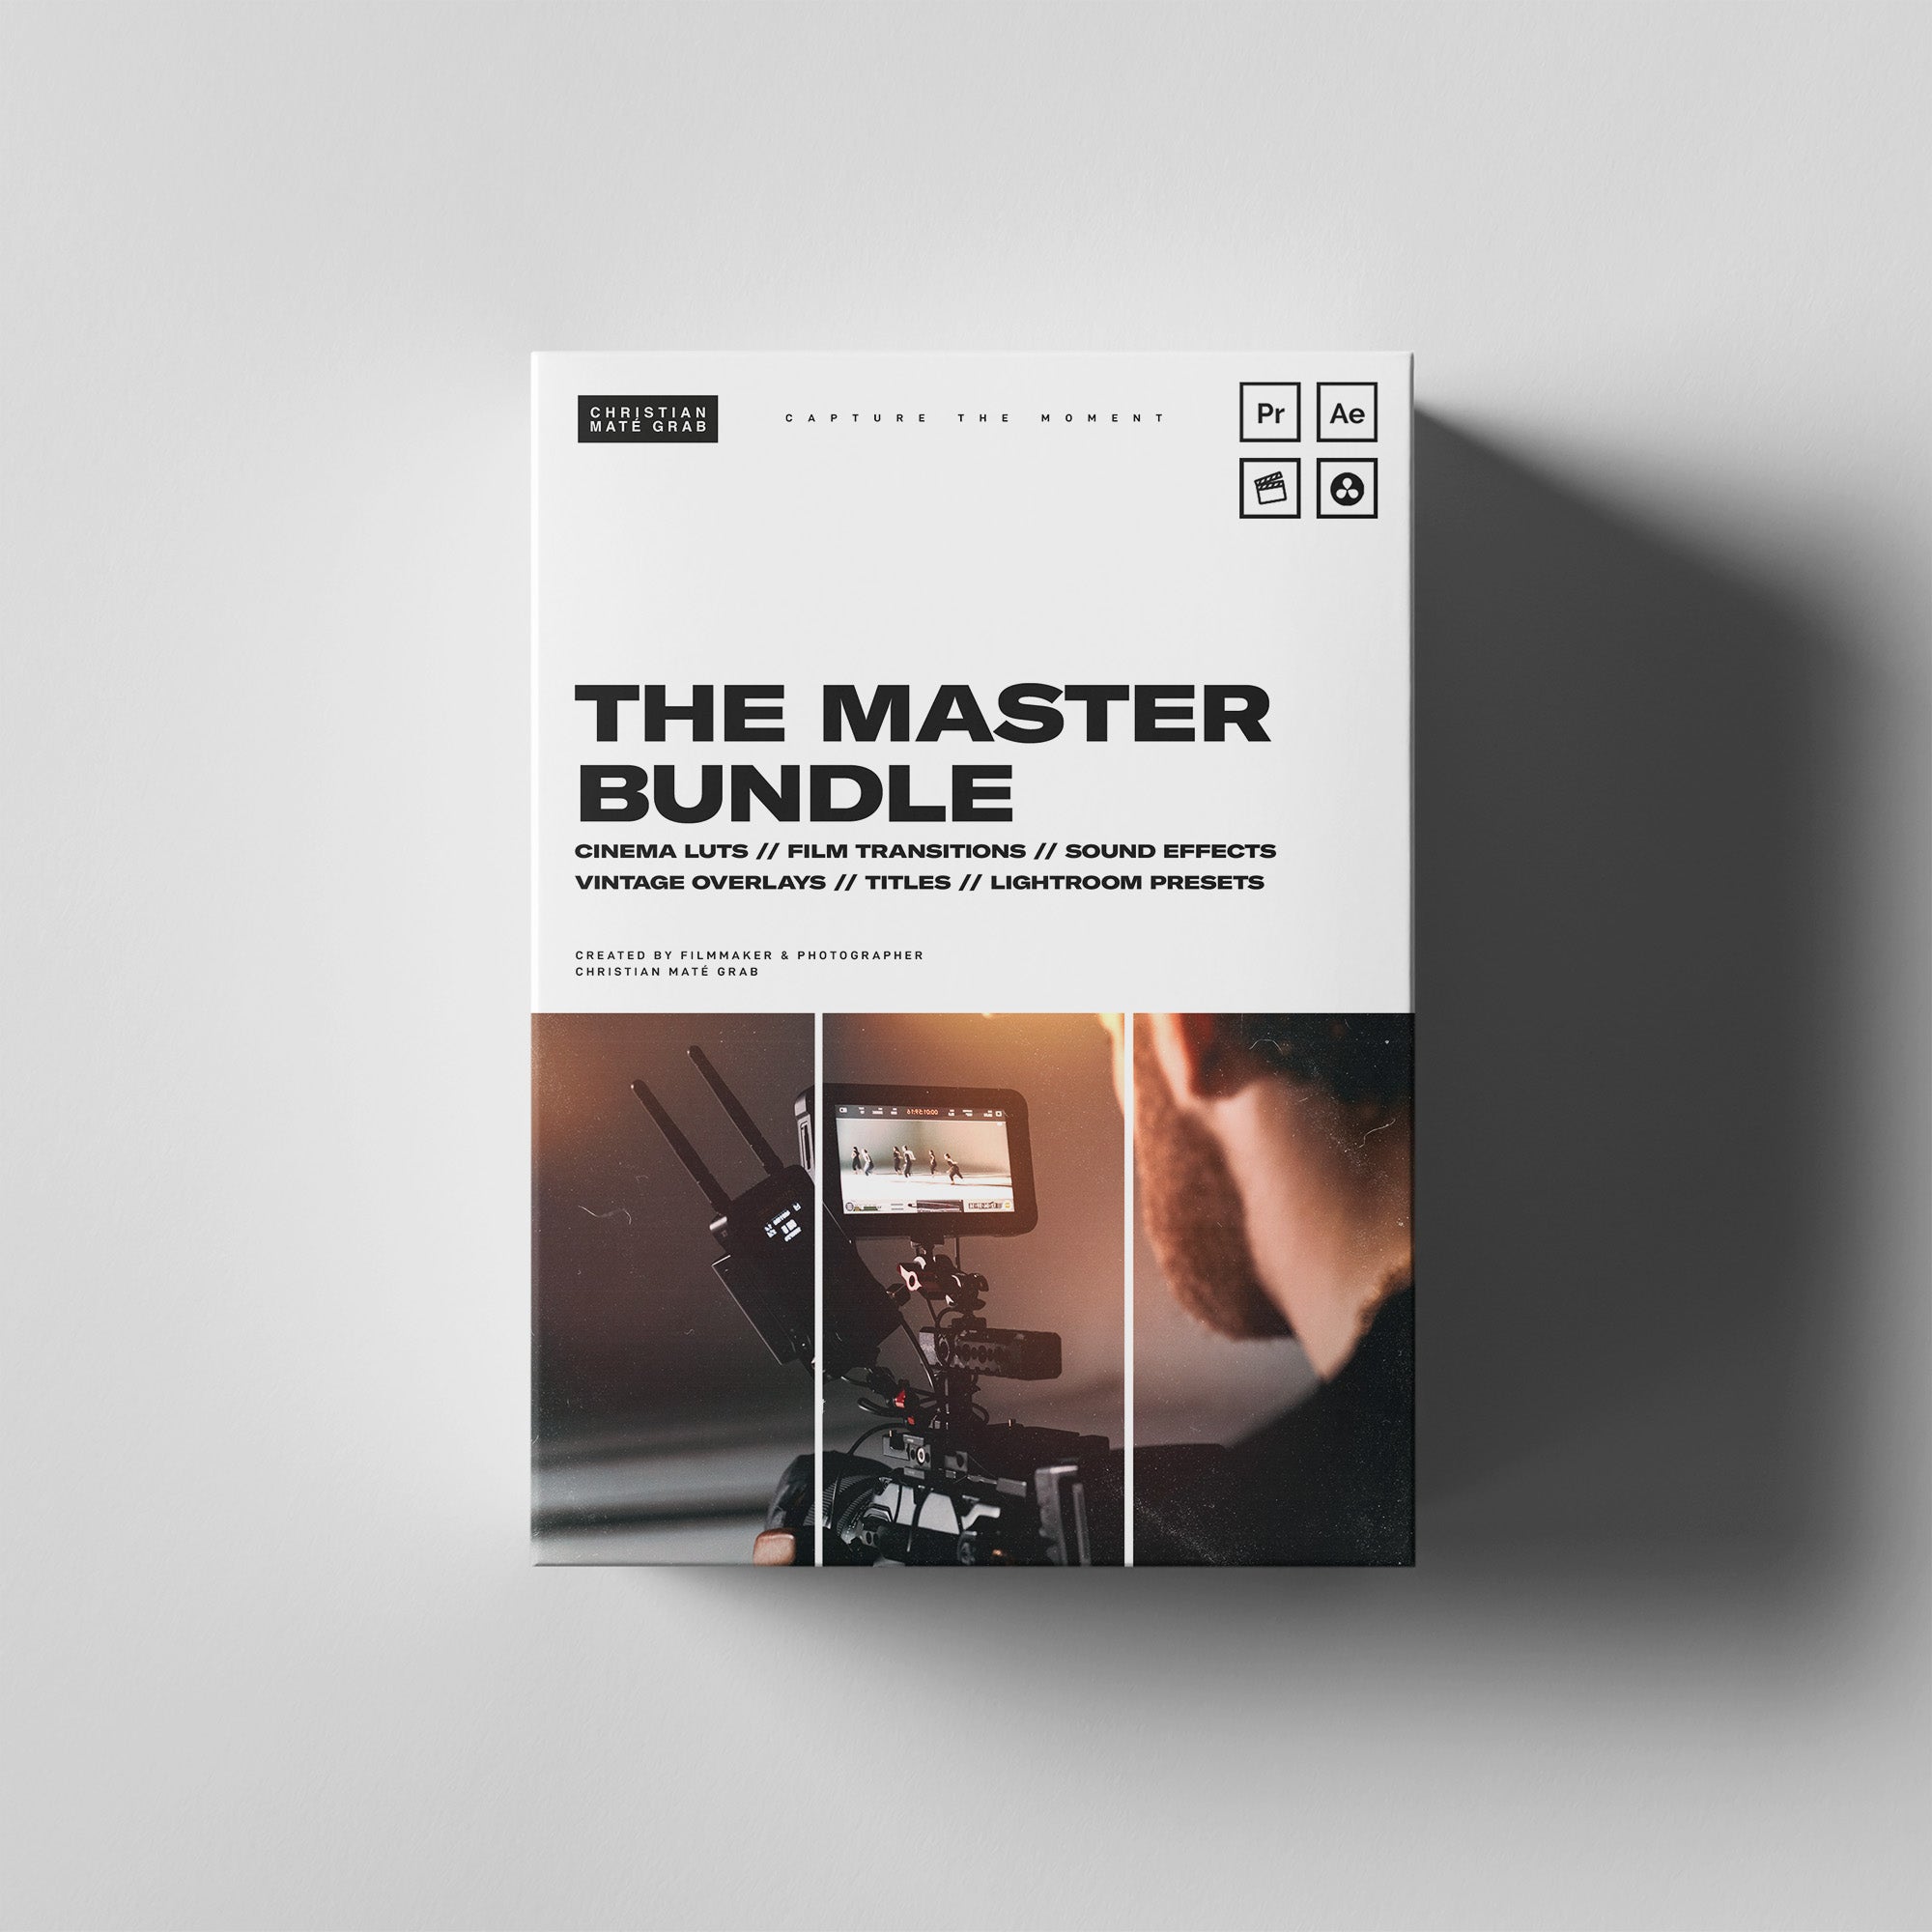
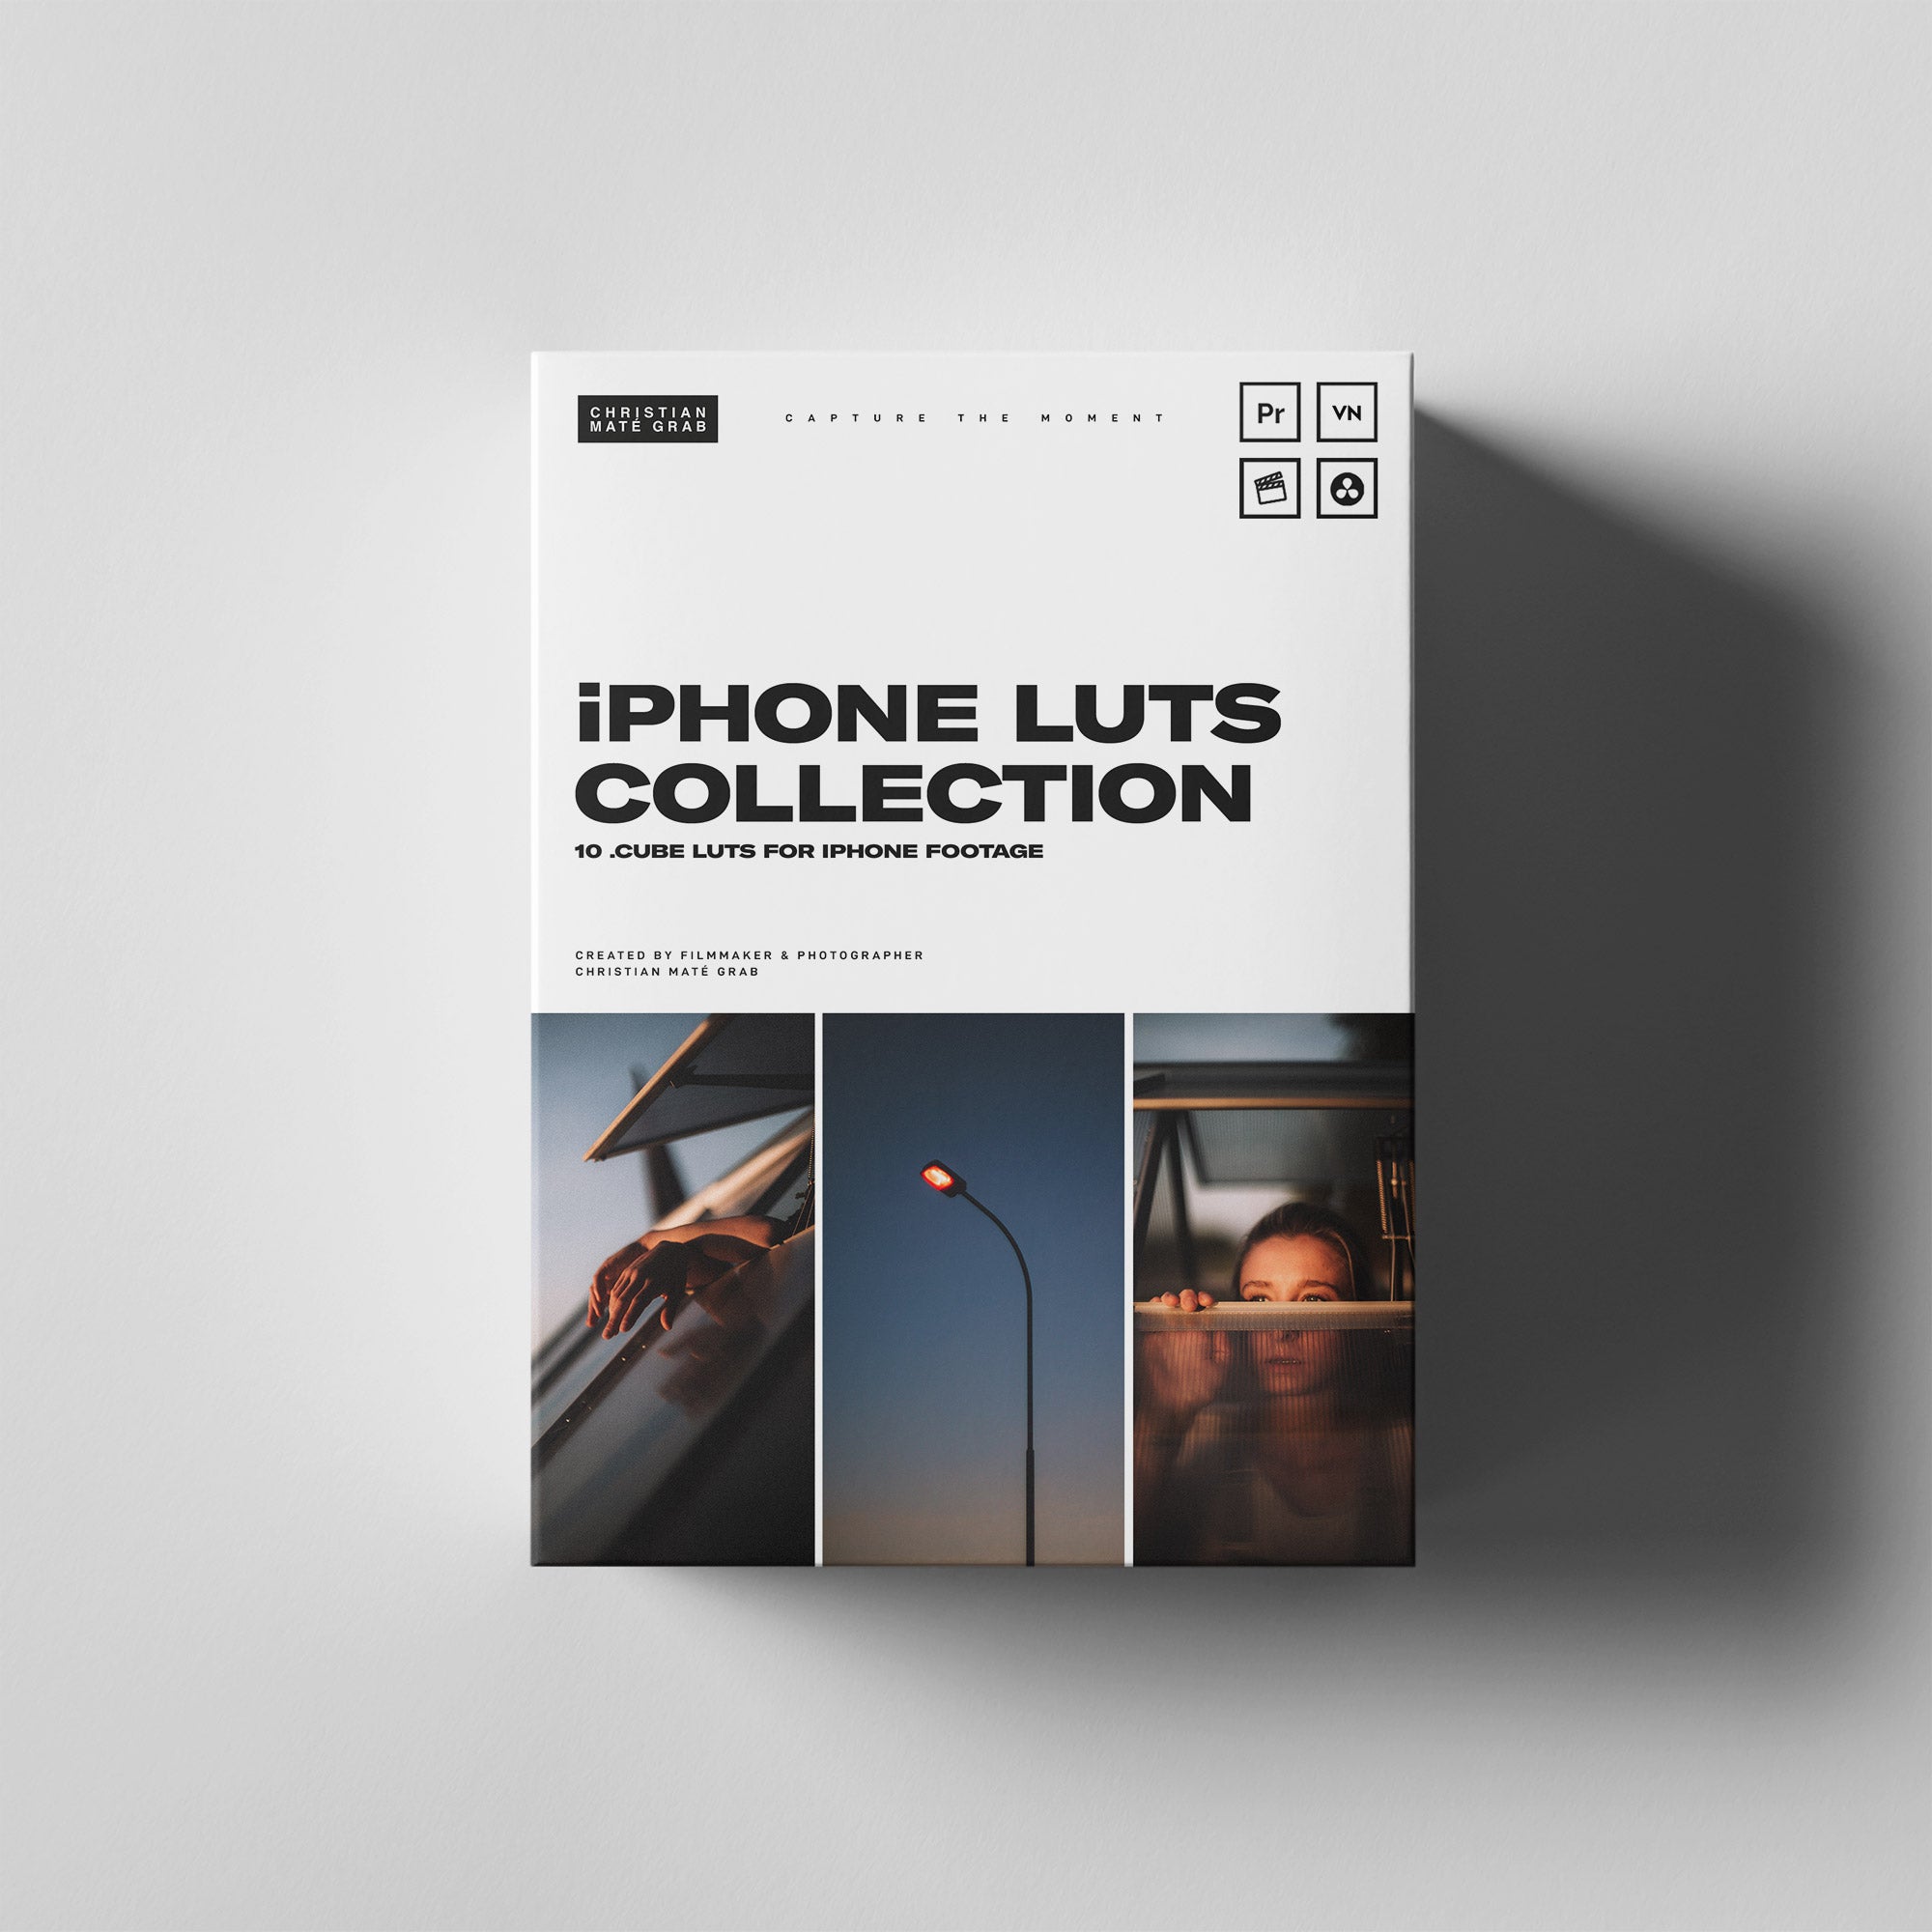
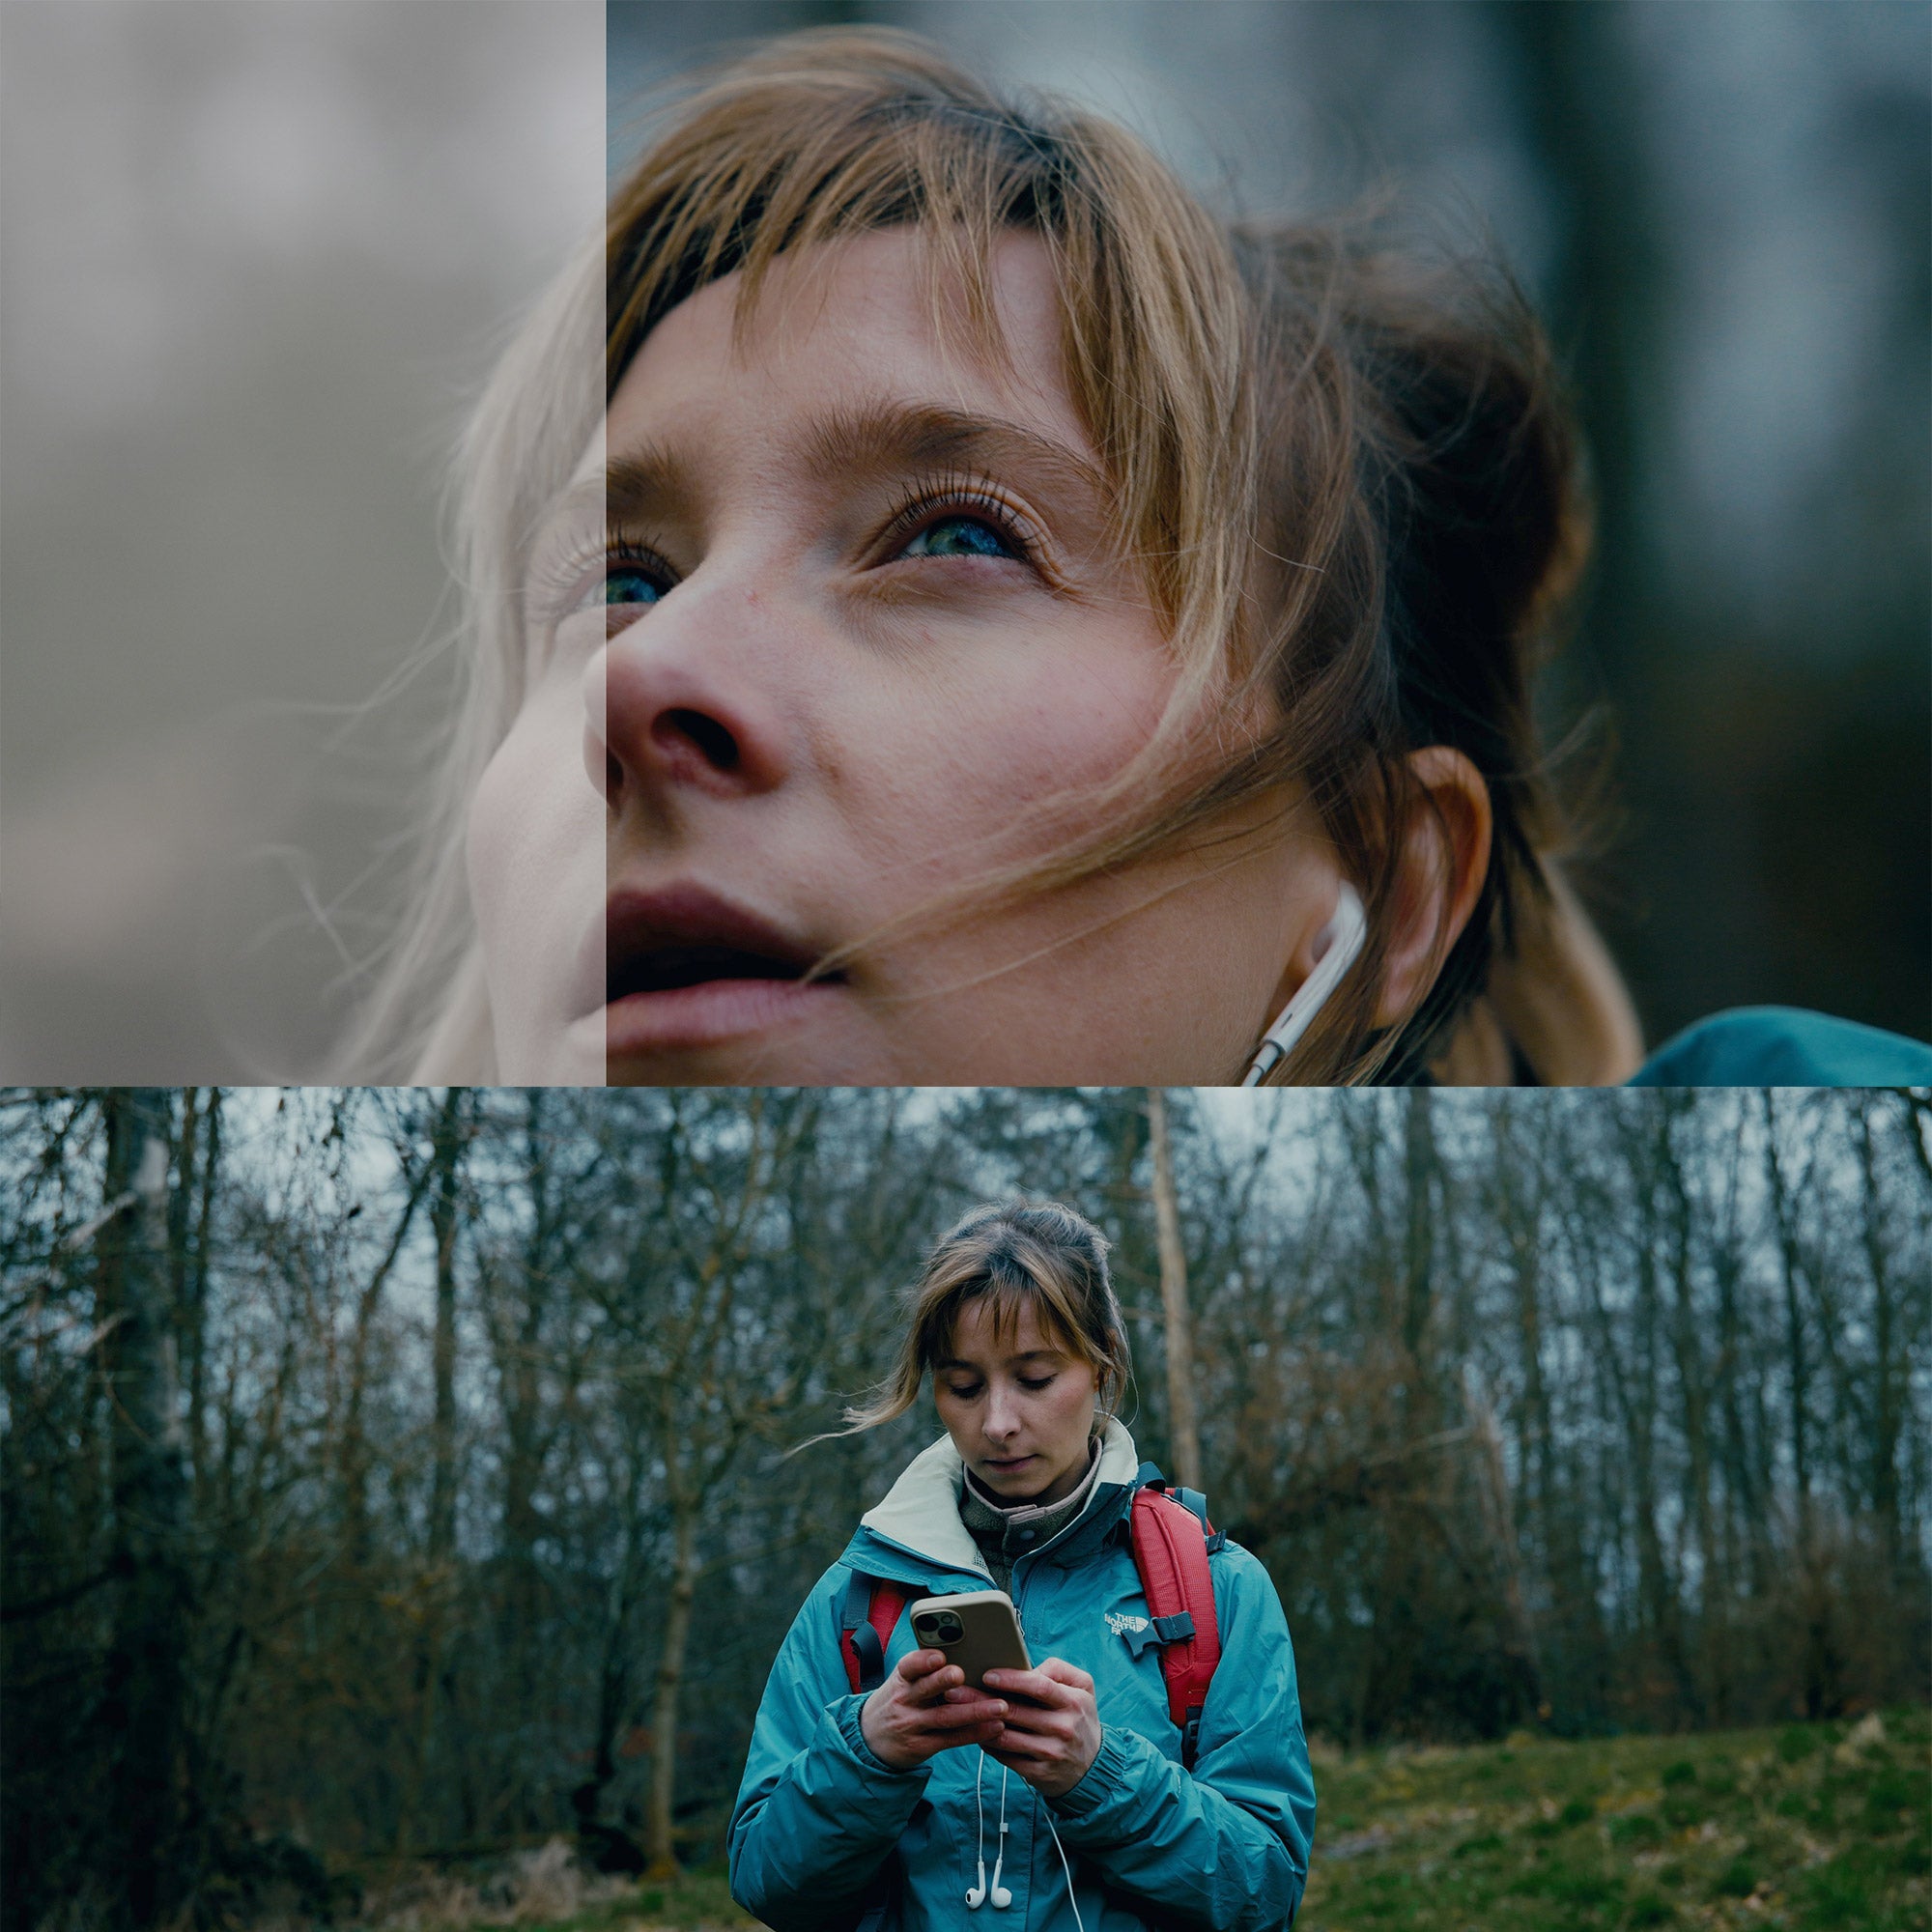
Now that you have your footage shot in LOG, it's time to select the perfect LUT for your desired look. There are numerous LUTs available online, including my very own Canon LUTs Product, which is specifically designed to enhance Canon footage. Look for LUTs that complement the mood and style you want to achieve in your videos. If you're after a classic cinematic filmlook, check out my Packs Canon R5 LUTs or my Cinema LUTs Collection.


Step 3: Apply the LUT
Once you have chosen the ideal LUT, it's time to apply it to your footage. Most video editing software, such as Adobe Premiere Pro or Final Cut Pro, allows you to easily import and apply LUTs. Simply navigate to the effects section, import the desired LUT, and apply it to your footage. Voila! Your video will instantly be transformed with the selected color grading look.
In Final Cut Pro X:
Add an Adjustment Layer on top of your clips, go to effects and search for "Custom LUT". Drag the effect onto the adjustment layer and import your .cube LUT.
In Adobe Premiere Pro:
Add an Adjustment Layer on top of your clips, open Lumetri Color on the right sidebar and import your LUT under the "Creative" tab.
Step 4: Fine-tune the result
While LUTs provide a quick and efficient way to color grade your videos, it's important to note that they might not always produce the exact desired result straight out of the box. Depending on your specific footage and creative vision, you may need to make some additional adjustments. Play around with the exposure, contrast, saturation, and other color grading tools to fine-tune the final look.
Important: Make sure to apply those changes on a Color Board or Color Wheel BEFORE the LUT gets applied so you working with the full dynamic range and color spectrum of your footage.

Step 5: Experiment and have fun!
Now that you have the basics of using LUTs to color grade your Canon videos, it's time to unleash your creativity and experiment with different looks. Don't be afraid to try out various LUTs, mix and match them, and create your own unique styles. The possibilities are endless, and this is where your artistic vision truly shines!
So there you have it, a step-by-step guide on how to color grade your Canon videos in seconds with LUTs. By following these simple steps and using high-quality LUTs, such as my Canon LUTs Product, you'll be able to elevate the visual quality of your videos and captivate your audience with stunning visuals. Happy color grading!


Leave a comment
This site is protected by reCAPTCHA and the Google Privacy Policy and Terms of Service apply.