
5 Tips for Creating Stunning Midjourney Images with Lightroom
- Composition Techniques
- Adjusting Exposure and Contrast
- Enhancing Colors and Saturation
- Applying Filters and Effects
- Touching Up with Detail Corrections
Have you ever found yourself creating some stunning AI images in Midjourney but they lack a natural vibe? With the help of Lightroom, you can turn these midjourney images into stunning masterpieces. In this article, I will share with you 5 tips for creating stunning midjourney images using Lightroom.
If you want to see some more of my Midjourney creations feel free to follow me on Instagram 👉🏼 @neverninetofive

Composition Techniques
Composition plays a vital role in creating visually appealing photographs. Here are a few composition techniques to help you create stunning midjourney images first!
Rule of Thirds: Use the prompt "rule of thirds" at the end of your prompt to make the output images more eye-pleasing!
Analog Film Styles: If you want to go for that photorealism just use one of the following prompts at the end of your original prompt: "shot on kodak portra 400" or "shot on rollei prego 90" or basically any other camera model / lens you prefer - This automatically gives your images a more analog, filmic look and I found that Kodak Portra comes close to what I find aesthetical!
Settings: I'm using the latest Midjourney version in high variation mode, RAW mode, Remix Mode on (so you can use the Inpainting / Vary Region setting) and with a medium stylize!

Adjusting Exposure and Contrast
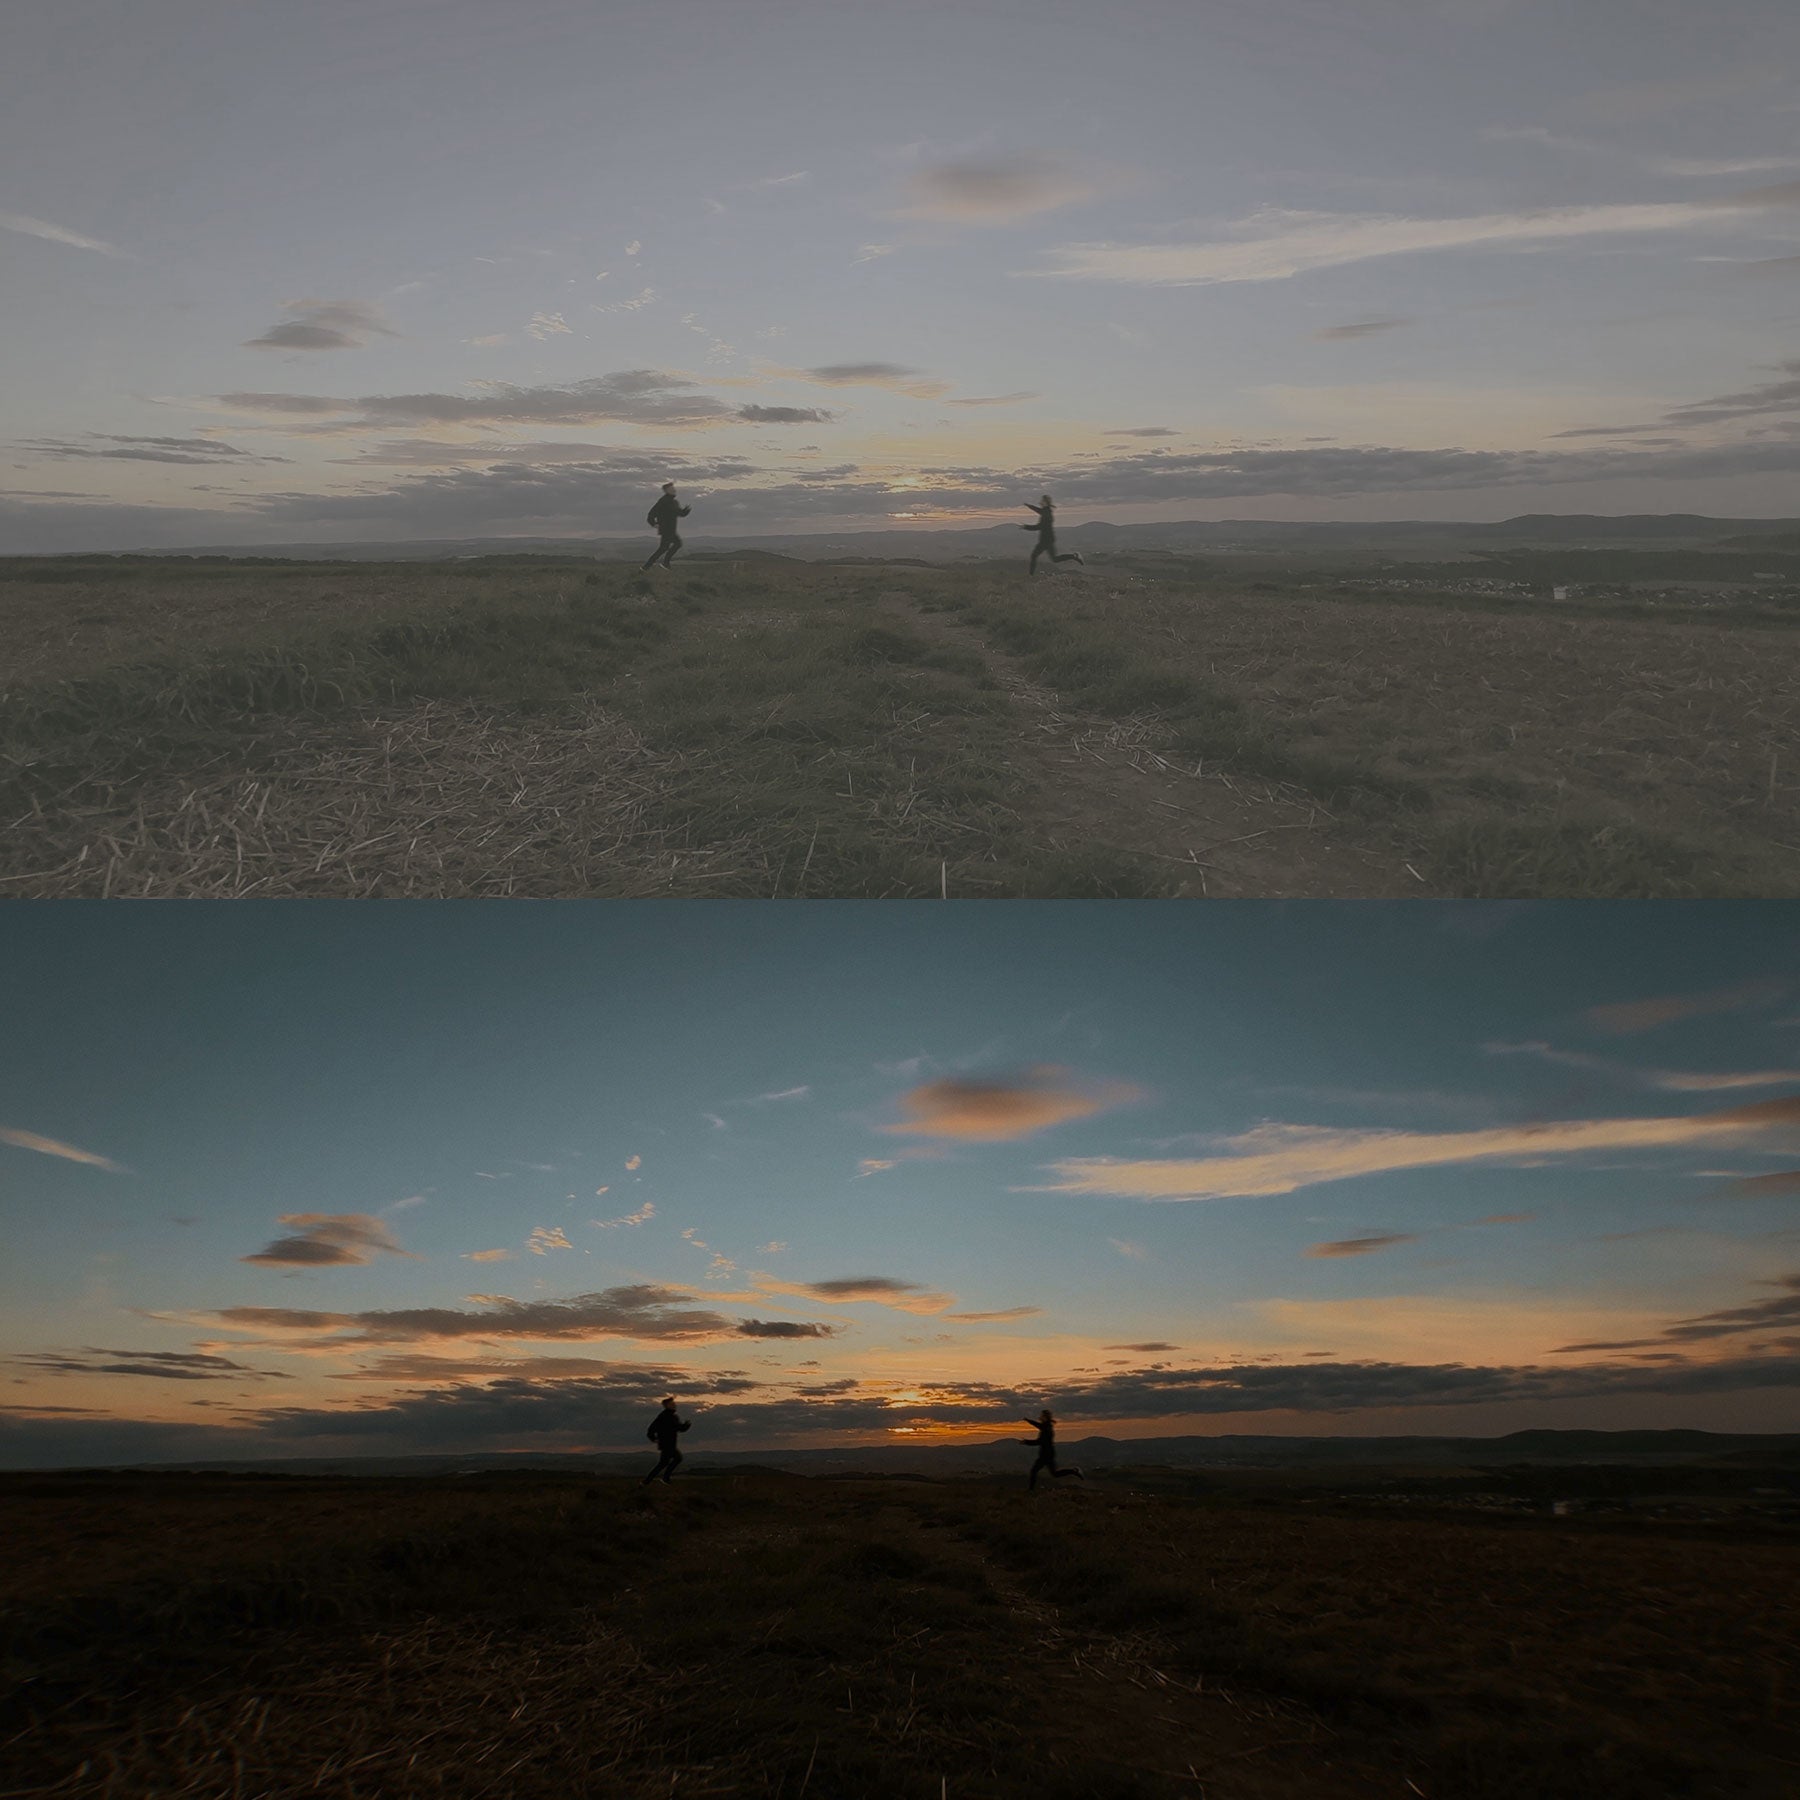
Midjourney images often turn out just a bit too perfect and render-like, but with Lightroom, you can easily add some of that natural organic look back to your images. Here are a few tips to help you achieve the desired results:
Use the Exposure Slider: Adjust the exposure slider to brighten or darken your image. Take care not to overexpose or underexpose. Aim for a balanced exposure that accurately represents the scene. I often like to slightly underexpose my Midjourney images.
Tweak the Contrast: Increase the contrast to add depth and make your midjourney images more visually striking. Use the contrast slider to find the perfect balance - not too flat, nor overly dramatic. Of course this depends on your personal preference.
Highlight and Shadow Adjustments: Fine-tune the highlights and shadows to bring out details in the brighter and darker areas of your image. This will help you achieve a well-balanced exposure. The highlights of analog film never are truely 100% white so try to bring down the "Whites" a bit to make the bright areas a bit more muted.

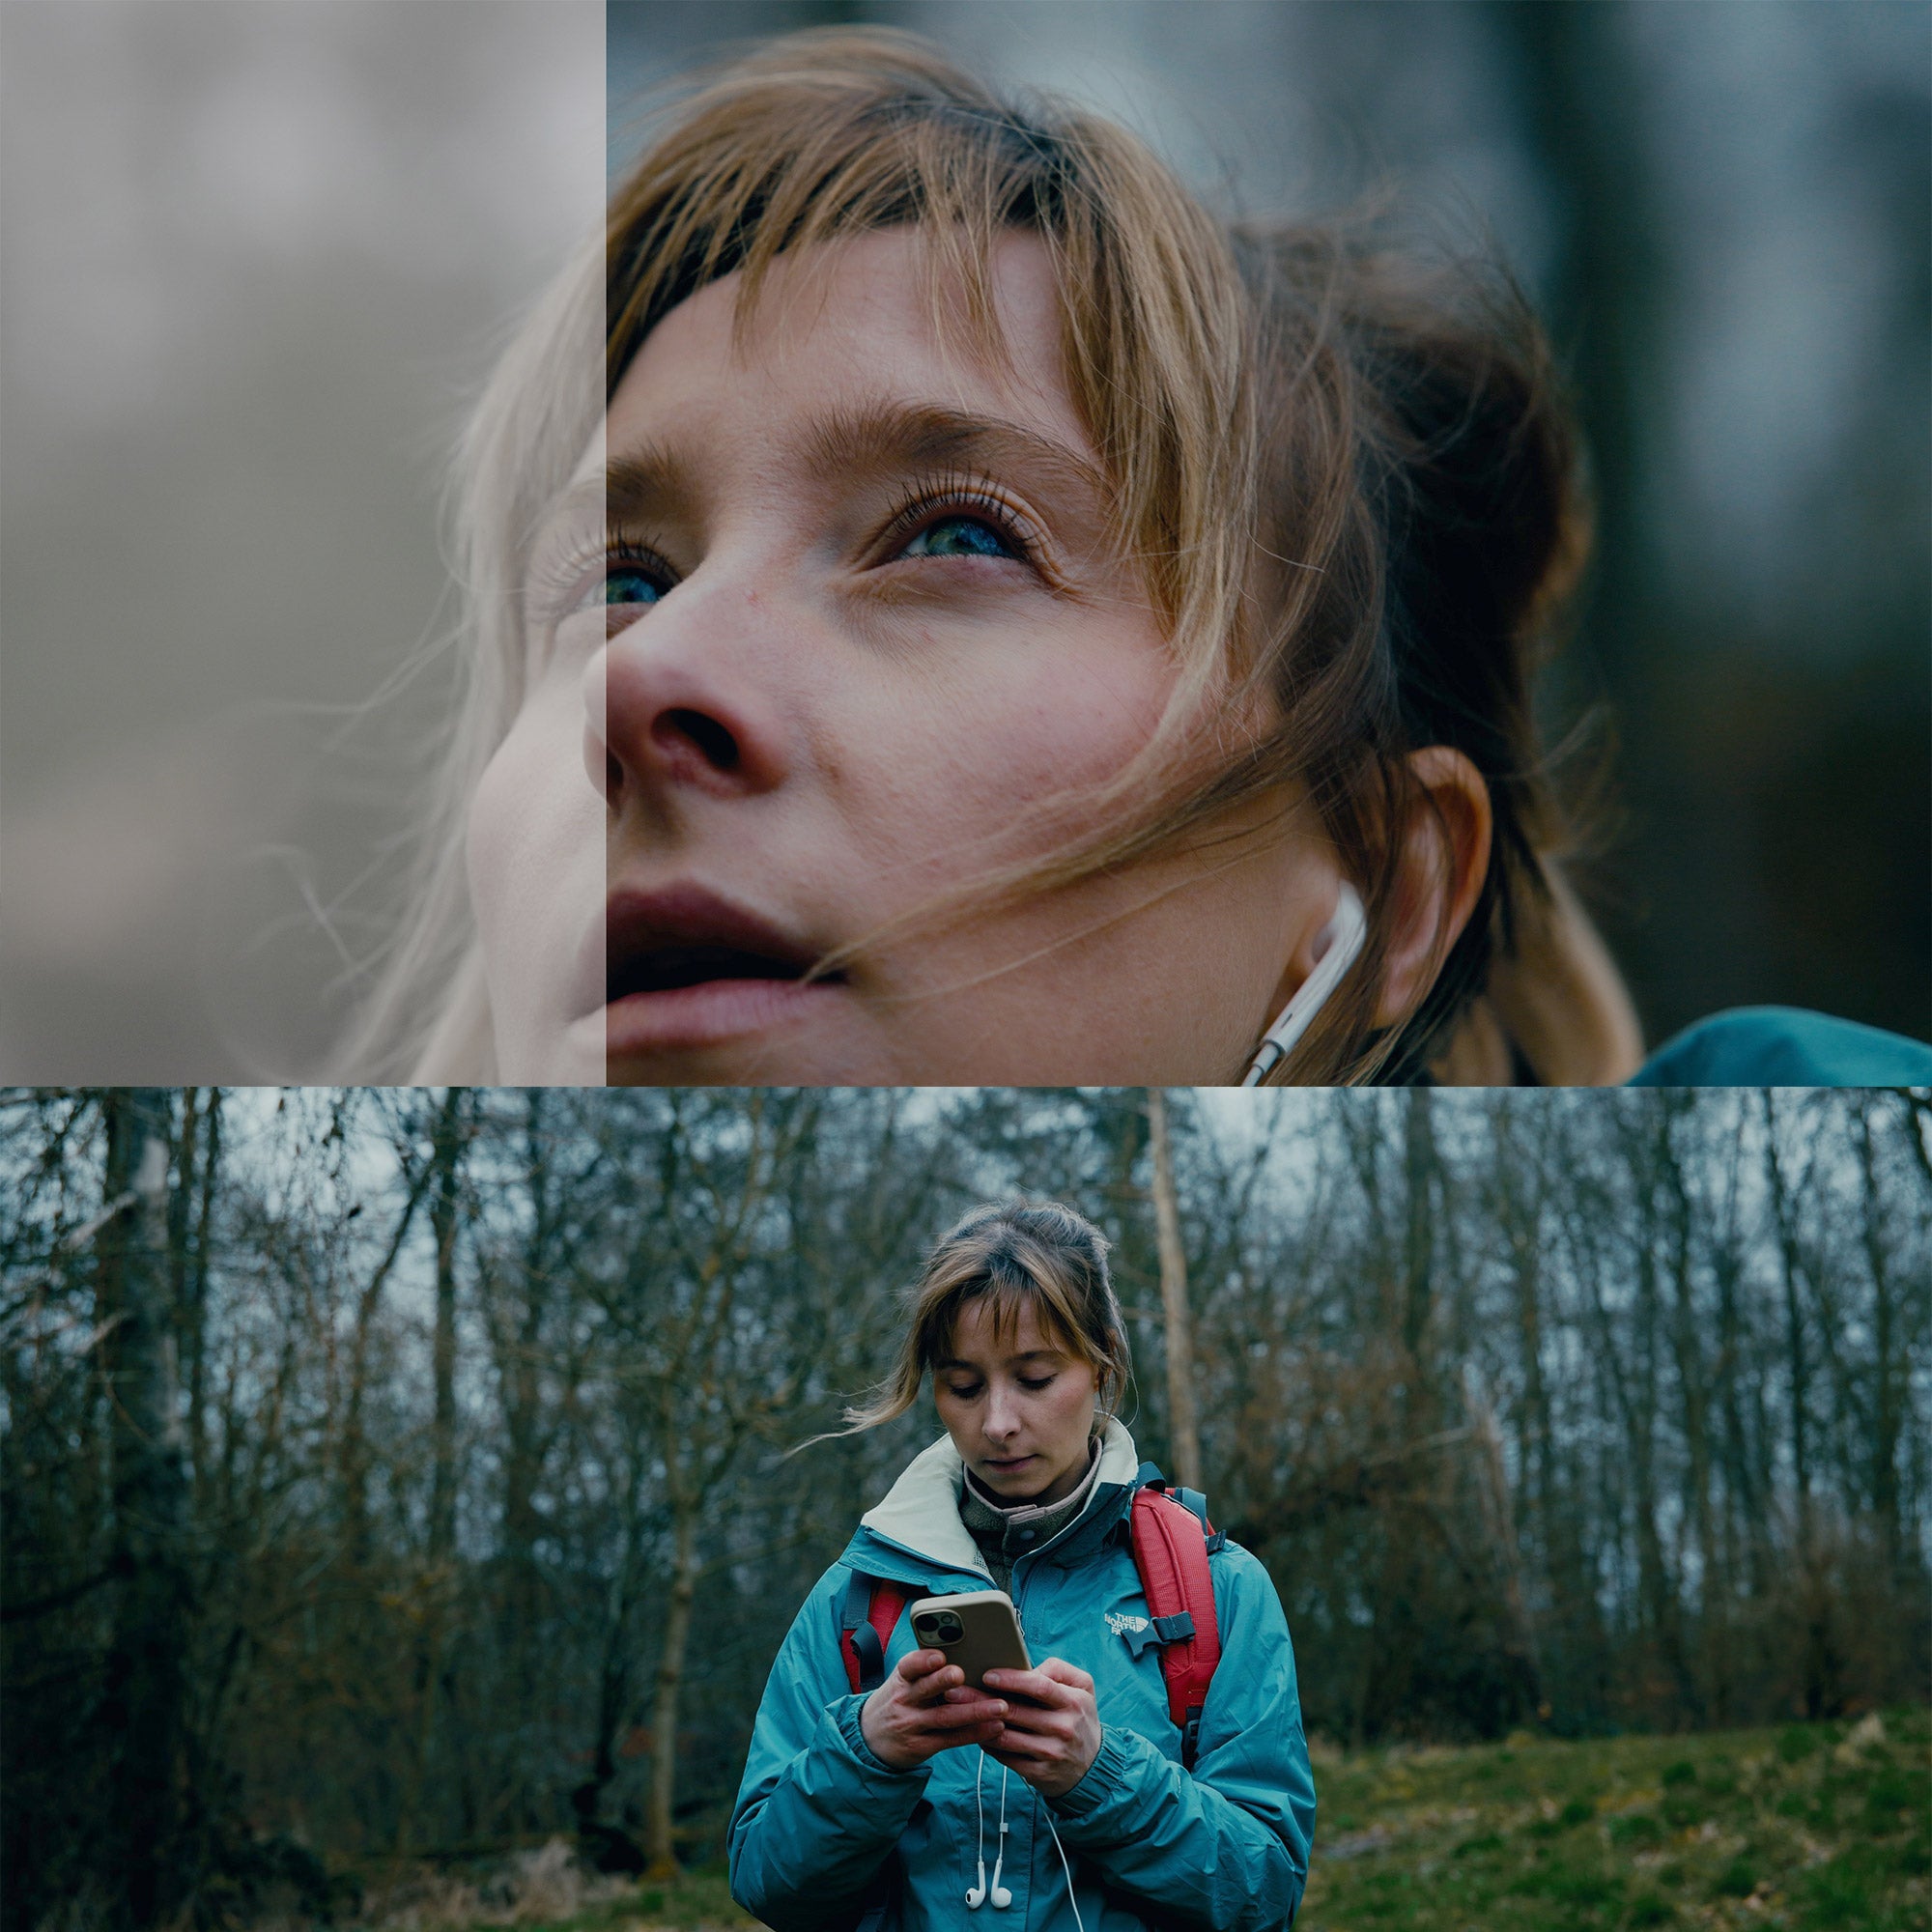
Enhancing Colors and Saturation
Okay, you want to get that cinematic filmlook on your Midjourney images. Lightroom offers various tools to enhance colors and saturation. Here’s how you can make your images pop using Lightroom:
Vibrance and Saturation: Increase the vibrance or saturation sliders to boost the intensity of colors in your image. Be mindful not to go overboard, as it can result in an unrealistic or unnatural look. Most of my generations tend to be too saturated so I turn down the saturation a bit.
HSL Adjustments: Use the Hue, Saturation, and Luminance (HSL) panel to selectively change the hue, saturation, and brightness of specific colors in your image. Try to raise the luminance of the skintones just a bit!
Color Grading: Experiment with color grading to add a unique and artistic touch to your midjourney images. Use the Split Toning panel to apply different colors to the highlights and shadows, creating a specific mood or atmosphere.
Pro-Tip: Play around with the tint slider. I like to go a bit to the left (green tint) because most analog film cameras and film stocks often have a yellowish/greenish tint as well.

Applying Filters and Effects
Lightroom offers a wide range of filters and effects that can transform your midjourney images and give them a distinct look. Here are a few tips on how to apply filters and effects effectively:
Presets: Explore and apply different presets to instantly change the overall look and feel of your image. Lightroom offers a variety of built-in presets or you can create your own. I just released 5 of my best Lightroom Presets especially created for Midjourney images!

Graduated Filters: Use graduated filters to selectively apply adjustments to specific areas of your image. This is especially useful when dealing with a bright sky or a dark foreground. Graduated filters can help you balance and enhance the exposure in these situations.
Radial Filters: Similar to graduated filters, radial filters allow you to apply adjustments to a circular area of your image. This is particularly useful for highlighting a specific subject or creating a vignette effect.

Touching Up with Detail Corrections
Sometimes, even with careful composition and adjustments, there may be small imperfections or distractions in your midjourney images. There's six fingers on a hand or some weird piercings in the models nose?! Lightroom provides tools to help you touch up and correct these details. Here’s how you can make those final adjustments:
Spot Removal: Use the spot removal tool to remove small blemishes, dust spots, or unwanted objects from your image. Simply click on the spot or area you want to remove, and Lightroom intelligently fills it in.
Cloning and Healing: For more complex edits, use the cloning and healing brushes to seamlessly remove or correct larger imperfections. The cloning tool duplicates a selected area, while the healing tool blends surrounding pixels for a natural-looking result.
Filmgrain: To add that final organic touch to your images, make sure to apply some subtl filmgrain to your images. Remember that the size of the grain depends on the original image resolution. I usually like to upscale my Midjourney images to around 3000px (long side) before editing them in Lightroom. Here are my grain settings:

In conclusion, by following these 5 tips and utilizing Lightroom’s powerful editing tools, you can transform your midjourney images into stunning works of art. Composition techniques, exposure adjustments, color enhancements, filter applications, and detail corrections all contribute to creating visually captivating photographs.
Here are some other blog posts that you might like!
📷 Best Mirrorless Cameras for Videography in 2023
💬 How to create auto-captions in CapCut
🏞️ Upscale Midjourney Images like a Pro (For Prints)
Hinterlasse einen Kommentar
Diese Website ist durch reCAPTCHA geschützt und es gelten die allgemeinen Geschäftsbedingungen und Datenschutzbestimmungen von Google.