
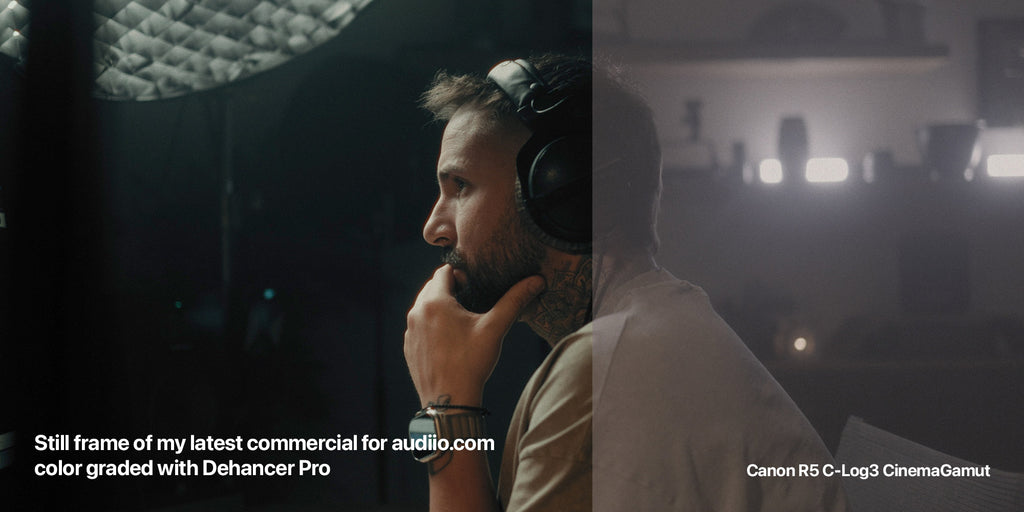
Understanding Dehancer Pro: Comprehensive Yet Costly
Dehancer Pro stands out in the realm of film emulation software, praised for its comprehensive ability to replicate various film stocks, add authentic film grain, and create halation effects that closely mimic traditional film aesthetics. This plugin integrates seamlessly into popular video editing platforms like Final Cut Pro X, Adobe Premiere Pro and DaVinci Resolve, offering filmmakers a powerful tool to enhance their digital footage with classic film aesthetics. BUT it's not quite cheap with a whooping $449 price tag - and also it's super heavy on your CPU so are there alternatives?
However, the high cost and technical demands of Dehancer Pro present significant challenges:
- High Cost: Priced at $449, Dehancer Pro is a significant investment, especially for independent filmmakers, students, or those just beginning their careers in video production.
- System Requirements: Dehancer Pro is notoriously CPU-intensive, requiring high-end computing resources to function efficiently. This can lead to prolonged rendering times, which interrupts the creative workflow and can be a major bottleneck in production environments where time is of the essence.
- Complexity: While offering extensive features, the complexity of Dehancer Pro might be overwhelming for newcomers to film emulation, posing a steep learning curve that can deter users without prior color grading experience.
The Importance of Accessibility in Film Emulation Tools
Given these challenges, there's a growing demand for more accessible alternatives that balance cost, ease of use, and system efficiency. Many emerging filmmakers and content creators require tools that not only deliver professional results but are also lightweight, less resource-intensive, and more budget-friendly.

The Essential Elements of Film Emulation: A Deeper Dive
Achieving an authentic film look involves mastering several technical and aesthetic elements which are essential to consider when evaluating any film emulation tool:
- Color Transformation with LUTs: Effective film emulation begins with accurate color transformation. This process typically involves mapping colors from digital footage to emulate the distinctive look of specific film stocks, preserving the dynamic range and integrity of the original colors.
- Organic Film Grain Overlays: Realistic film grain overlays are crucial for adding texture and depth to digital footage, making it visually comparable to traditional film. High-quality grain overlays should replicate the random, organic texture of actual film grain without degrading the quality of the footage.
- Halation Effects: Halation, the glowing effect around bright light sources on film, adds warmth and a touch of realism to film emulation. Properly replicating this effect requires nuanced blending and grading techniques that mimic the physical properties of film.
- Film compression: On film, whites aren't just pure white and blacks aren't pure blacks. They are crushed and compressed so that for example a bright white sky looks a bit darker with a yellowish tint. In Dehancer you can do this by clicking a button but even with a few clicks and manual color correction (crushing the blacks and highlights with a curve for example and adding a tint to it) you can replicate this in your video editing software.
What's a good Dehancer Pro alternative?
Despite the wide array of options and customization that Dehancer Pro offers, making it a powerful tool for film emulation, my experience has highlighted some significant challenges.
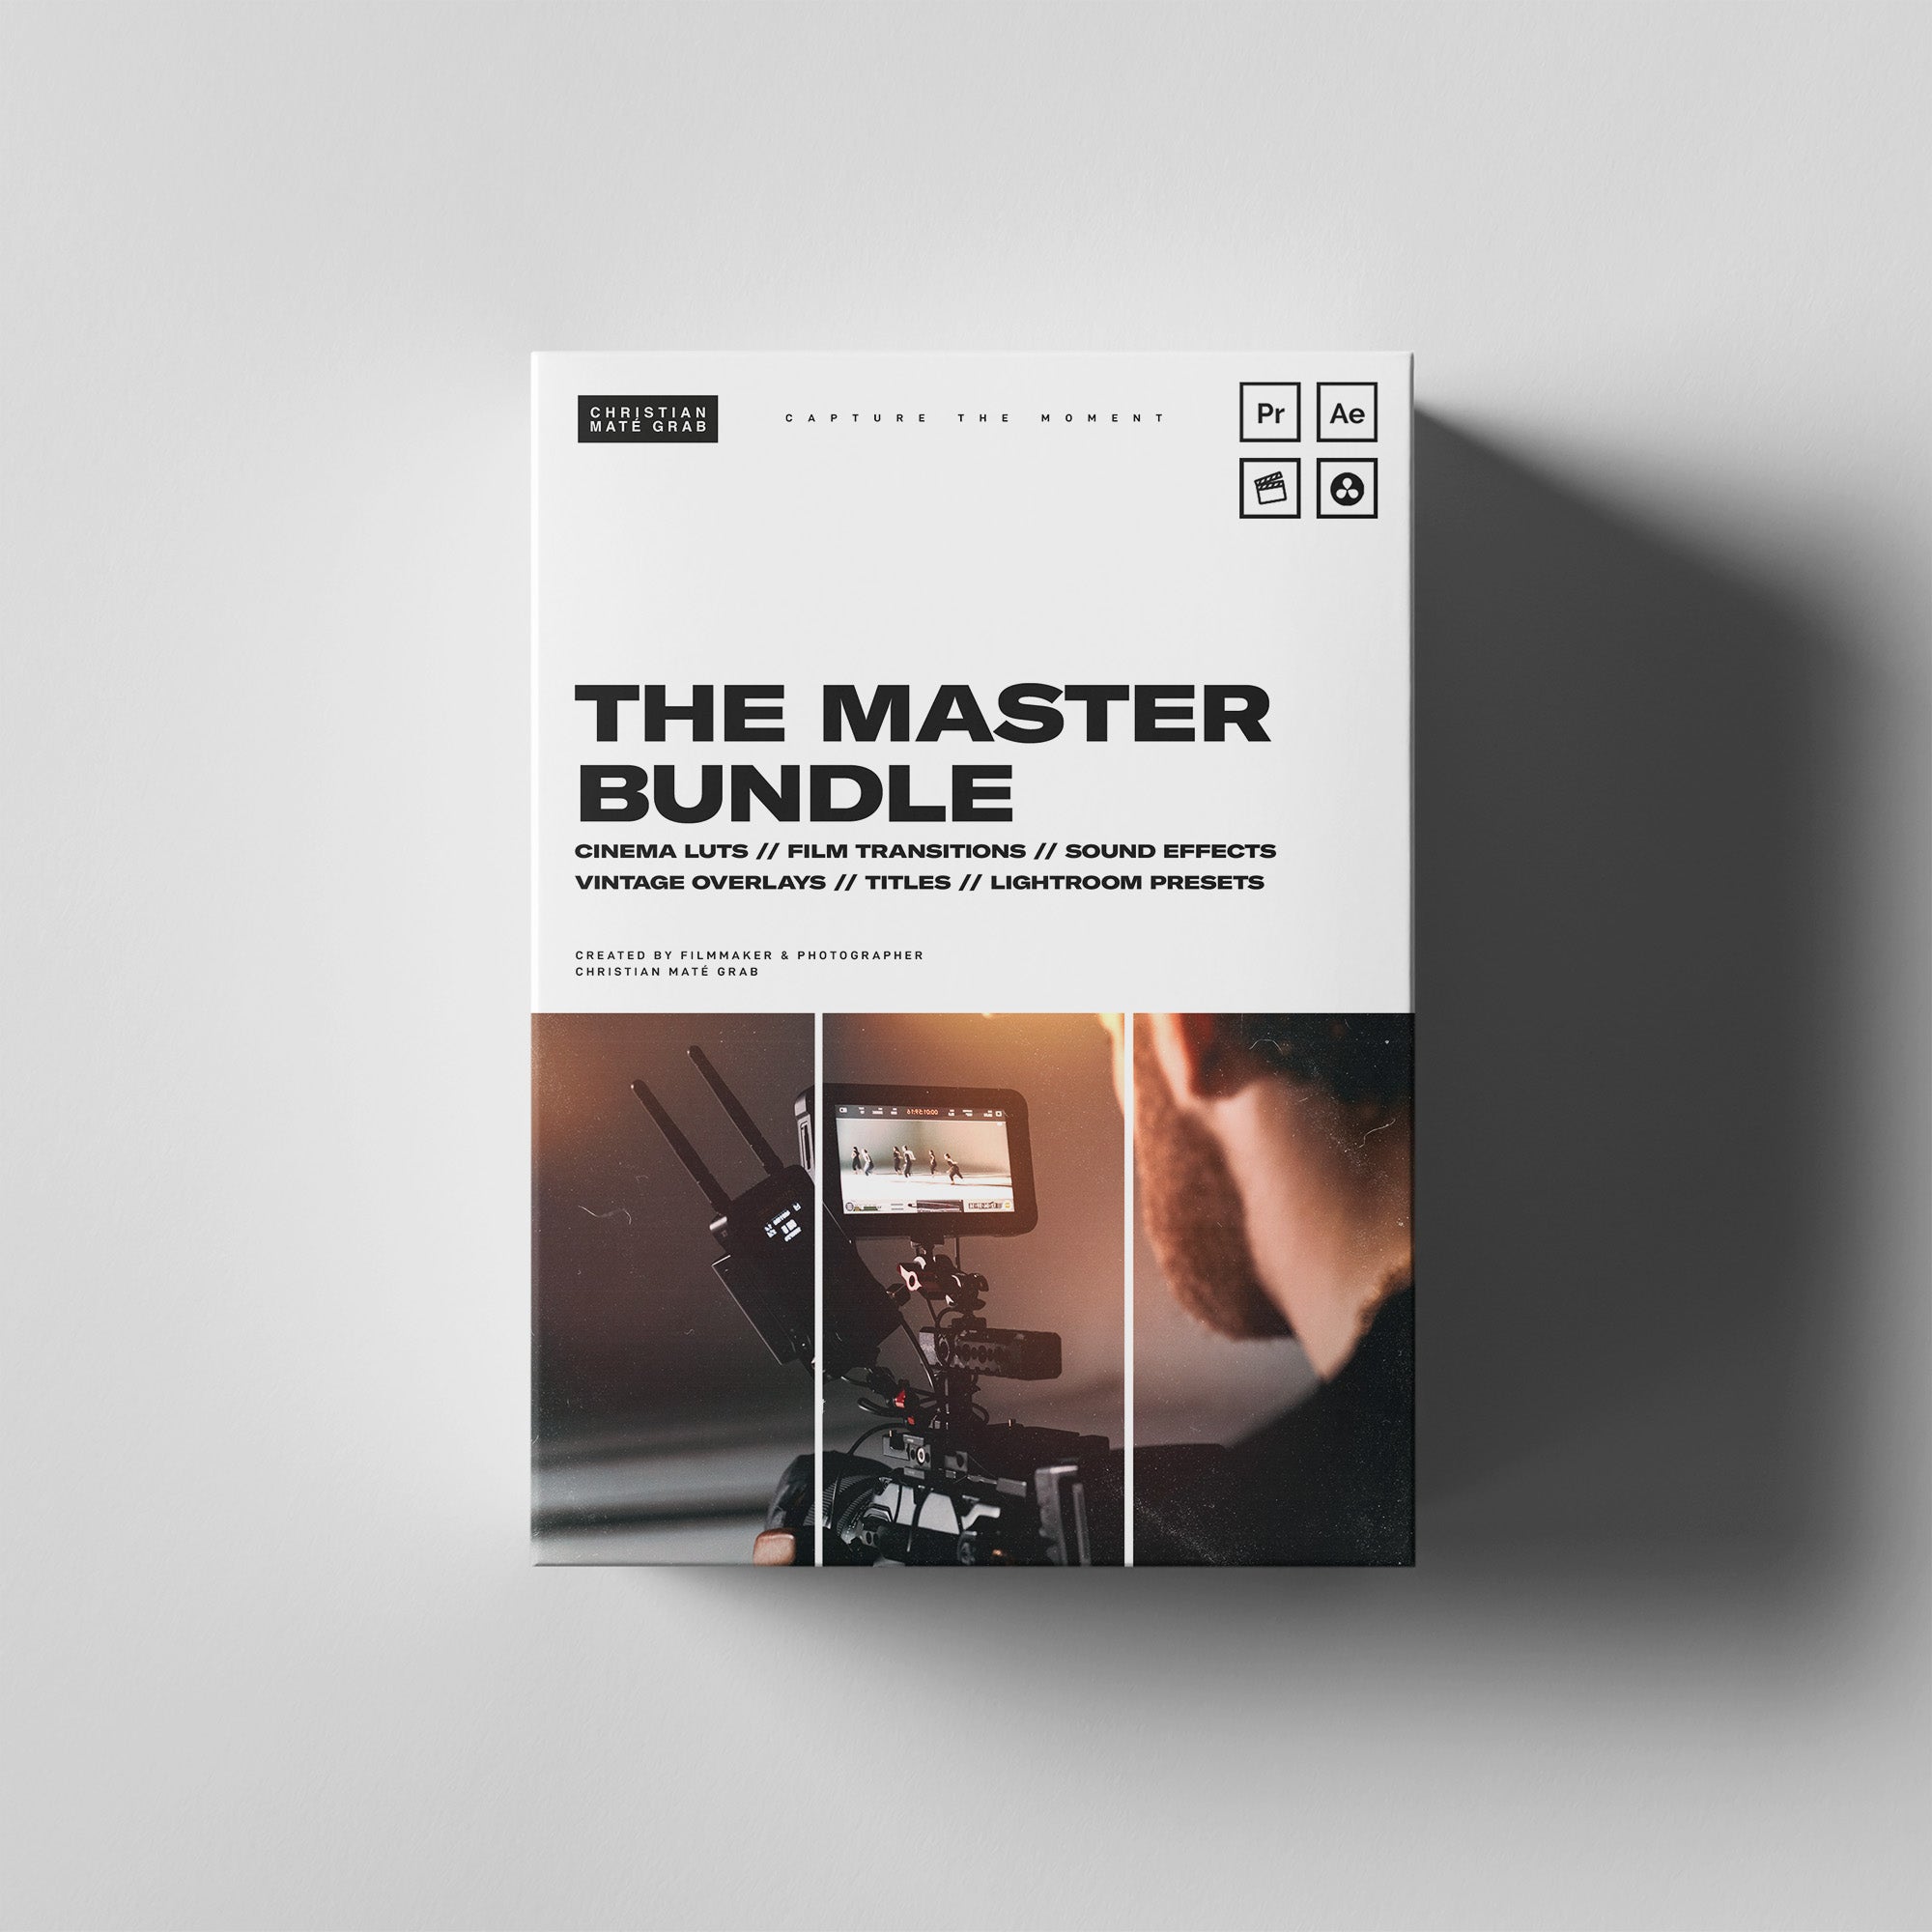
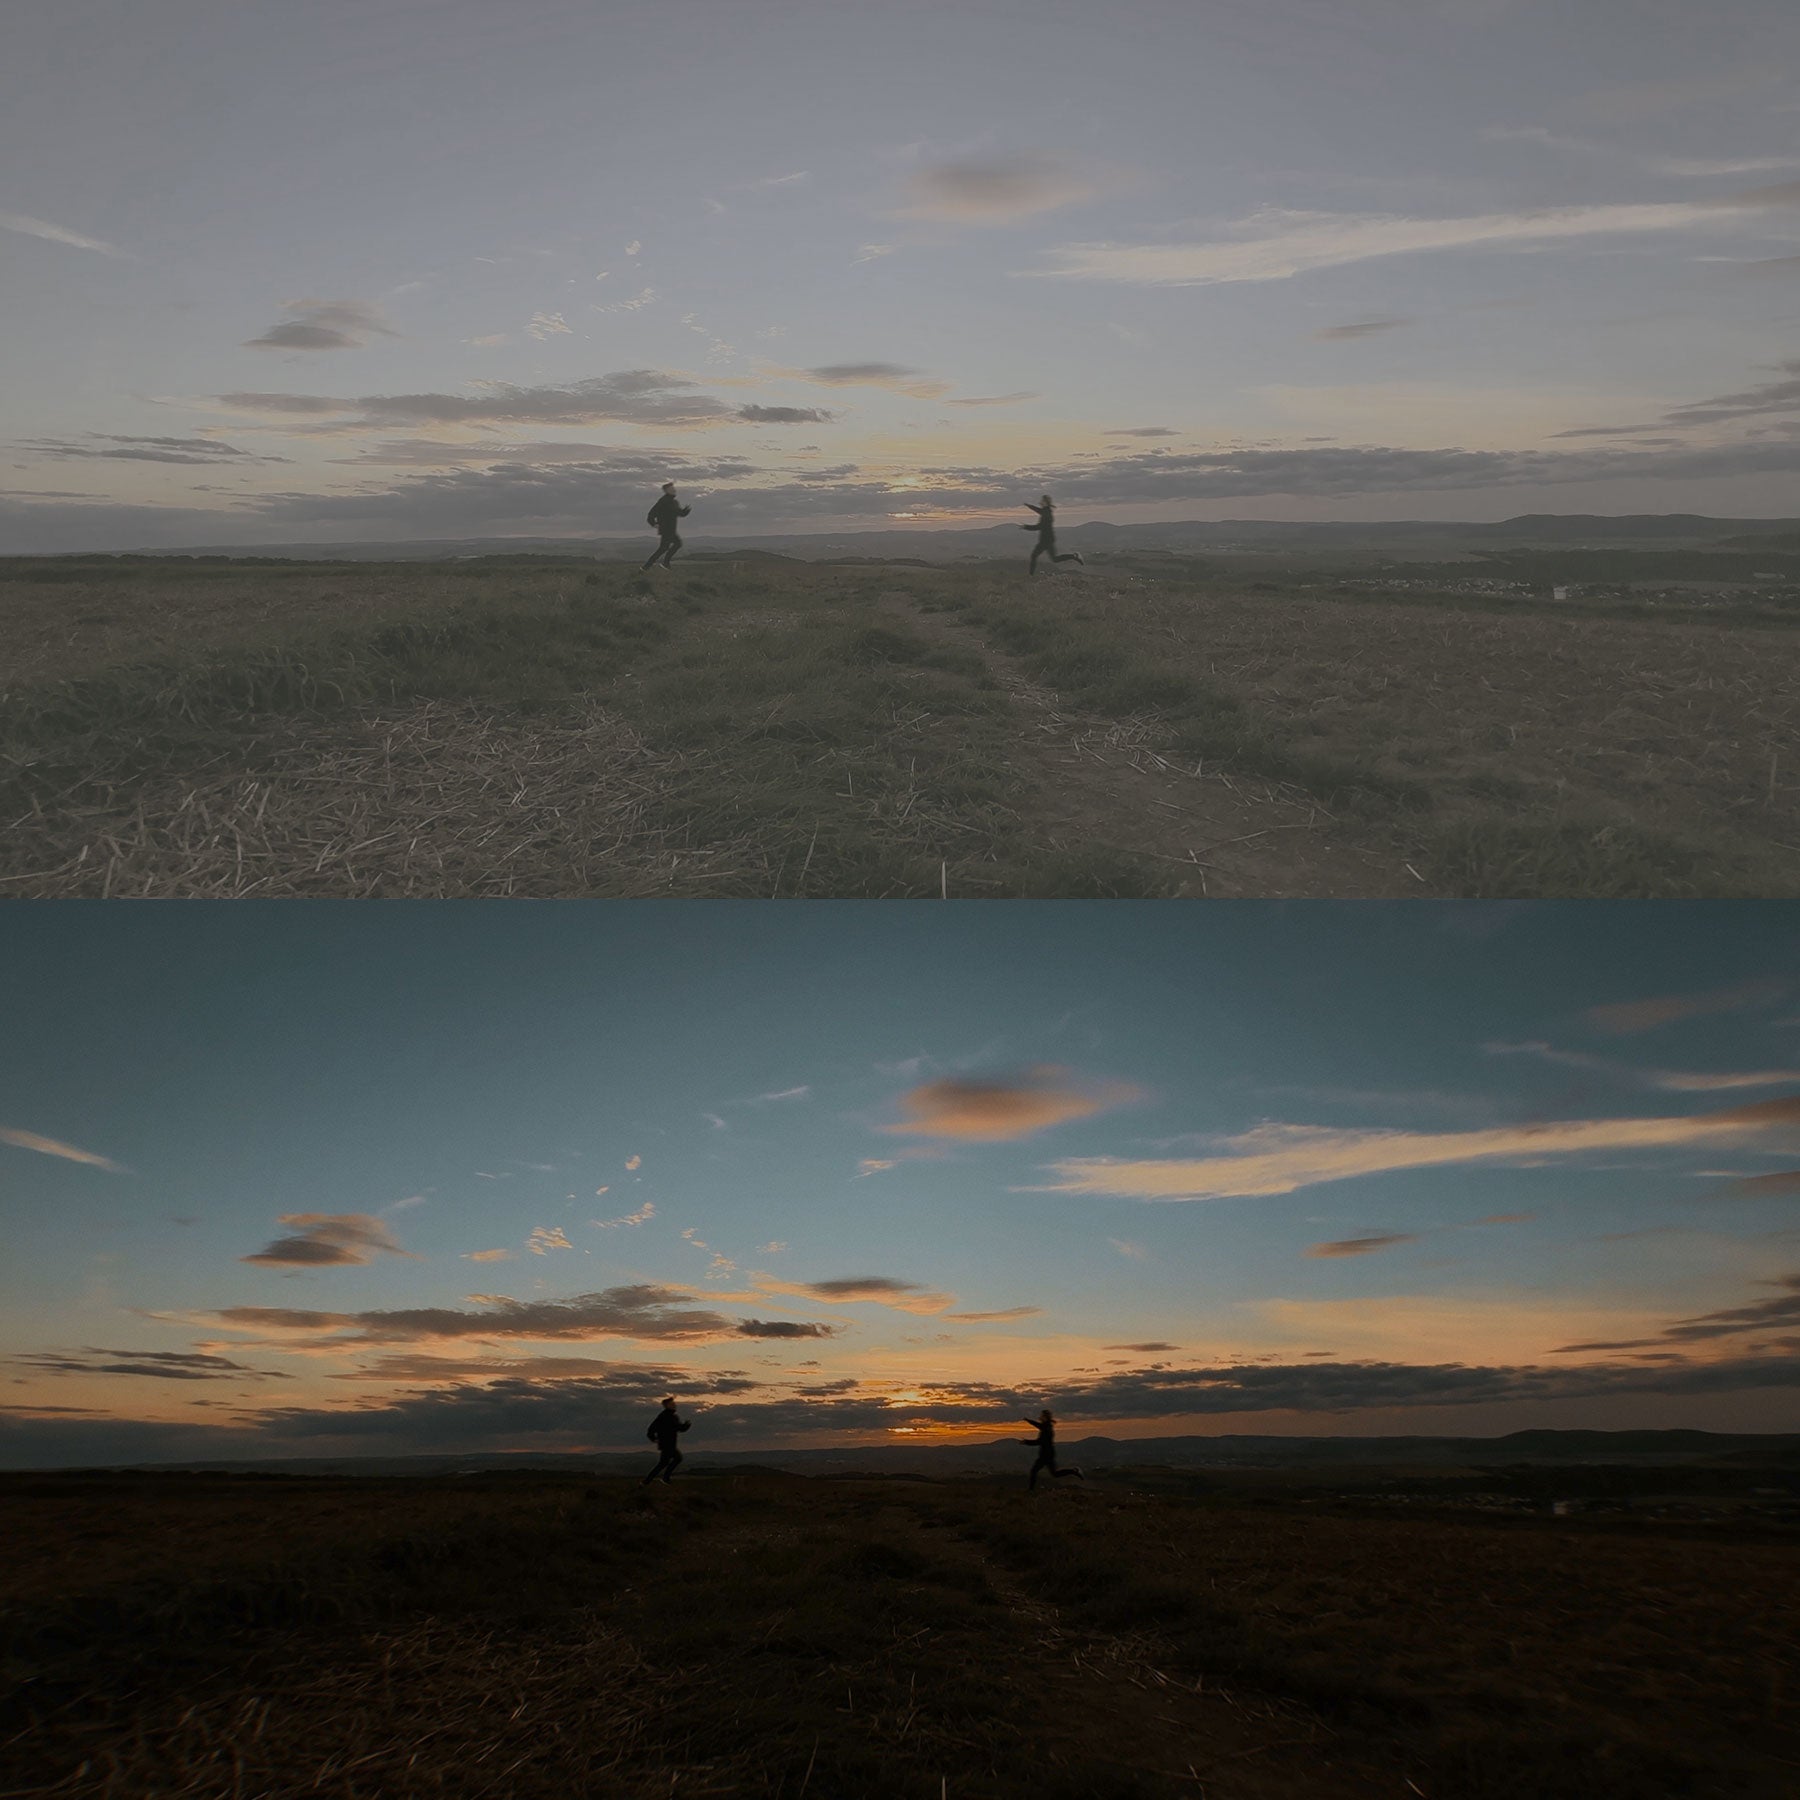
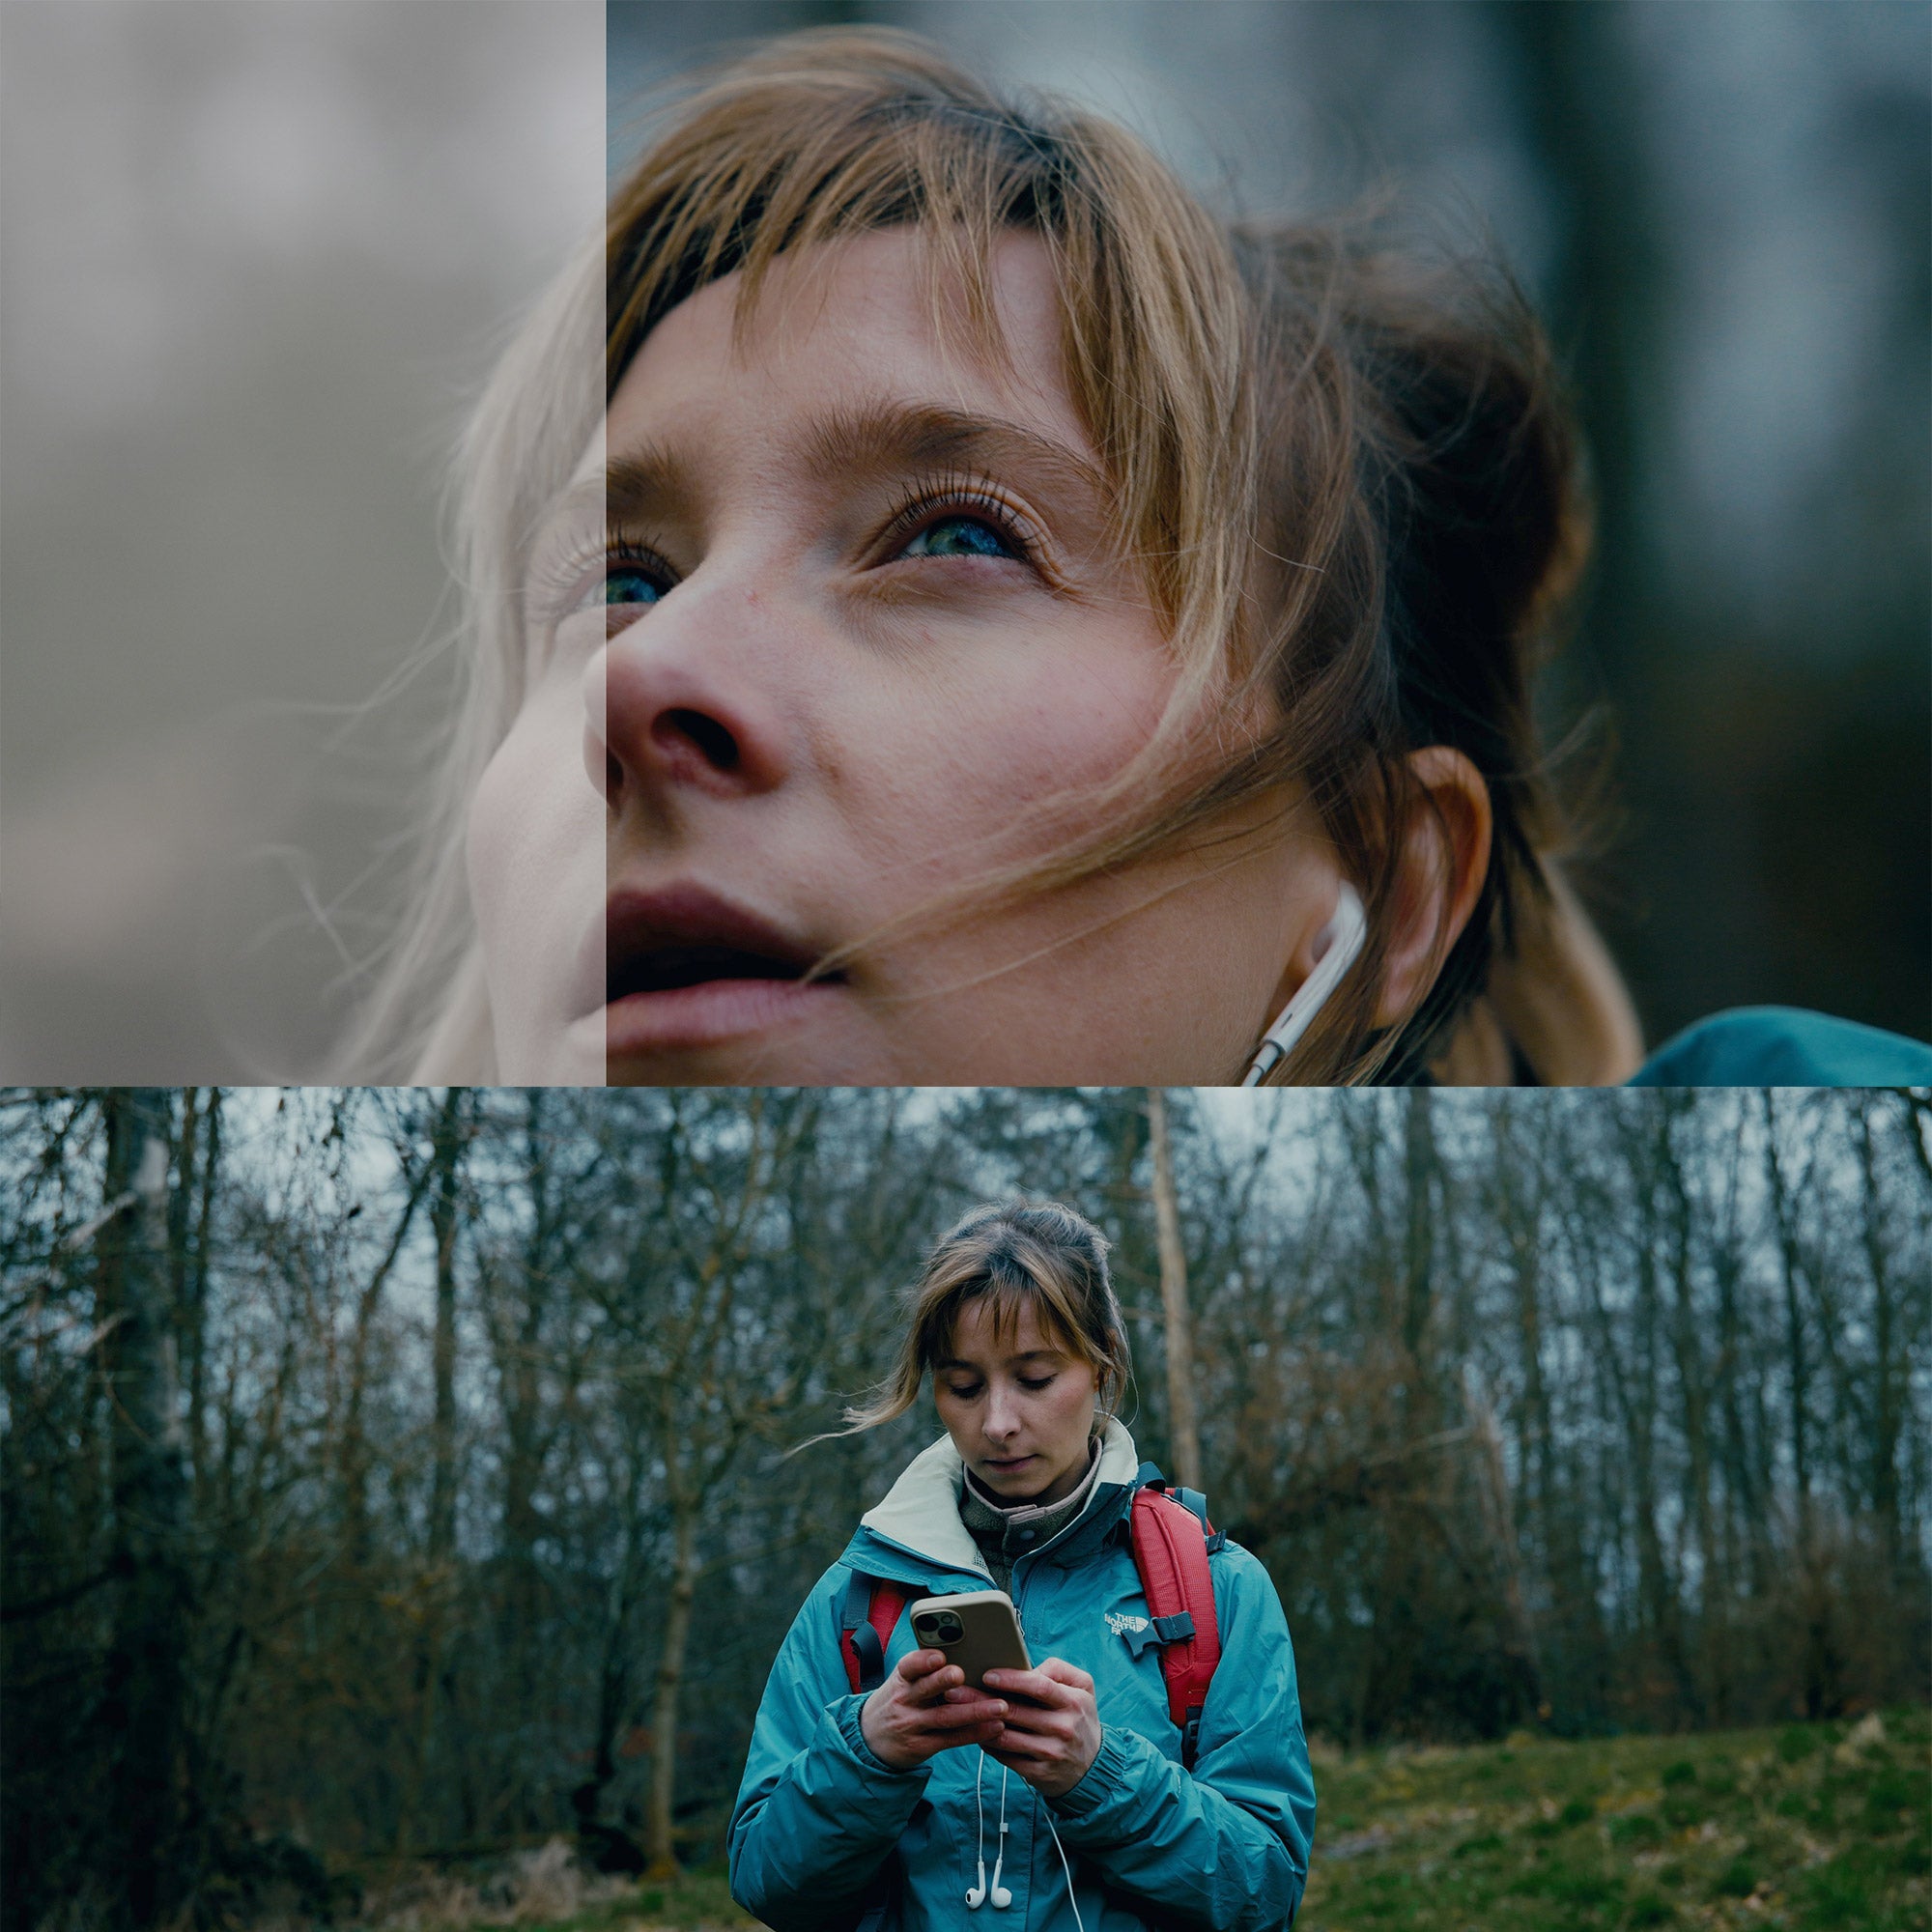
Even with a $7000 maxed-out Mac Studio, I found that rendering times were excessively long, and the software crashed frequently, disrupting my creative workflow. To address this, I developed my own solution—a LUT designed to transform any log footage, into the beautiful tones of Kodak Portra 400 film stock (that's the film profile we used 98% of the time).
Additionally, I included high-quality film grain overlays that add a organic depth and authenticity to the footage without overwhelming the system (you just drag & drop this to your timeline and change the blend mode to "Add".
👉🏼 Get my Portra 400 Film Emulation here
This pack includes:
🎥 My Kodak Portra 400 LUT that works with any Log-footage
🎞️ 3 organic 35mm film grain overlays (drag & drop)
📖 Step-by-Step guide on how to use it correctly
But how to add halation to your videos?
There is simply no way of adding halation to your footage with just a LUT. But luckily you don't need expensive plugins for this neither. There's several Youtube videos explaining how to add halation (that filmic glow in the highlights) and it's completely for free!
How to add Halation in Premiere Pro
How to add Halation in DaVinci Resolve
How to add Halation in Final Cut Pro X
This approach has significantly smoothed my workflow, avoiding crashes and speeding up the editing process. That's why I've packaged these tools into an affordable bundle, available for just $15, to help other filmmakers achieve a professional film look without the technical headaches.

A cheaper (and better) alternative for DaVinci Resolve users
If you're using DaVinci Resolve to edit your videos you probably want to go for another route as there are "real" film emulations out there that can give you better and more tailored results than a LUT can provide - for example CinePrint16 - a film emulation by Tom Bolles based on DaVinci nodes.
It's less than $60 and a great way to get the most ouf of Davinci's advanced color grading tools!


Leave a comment
This site is protected by reCAPTCHA and the Google Privacy Policy and Terms of Service apply.